
Creating Your Own Snoot (DIY Project)
[bscolumns class=”one_half”]
Some days ago, I needed an extra snoot for a photo session. It was an impromptu session and I did not have time to buy one or wait for an online order to be delivered. Fortunately, creating a new one from scratch is easy and I am quite sure that you have all you need at home.
But first, what is a snoot and why do you need it? Most portable flash units are designed to throw out a wide spread of light but sometimes you would prefer a narrower source of light. This is what a snoot is all about.
What Do You Need?
- Portable flashgun
- Black cardstock or a piece of cardboard
- Glue
- Craft Knife
- Velcro or plastic straps
- Black duct type (optional)
[/bscolumns][bscolumns class=”one_half_last”]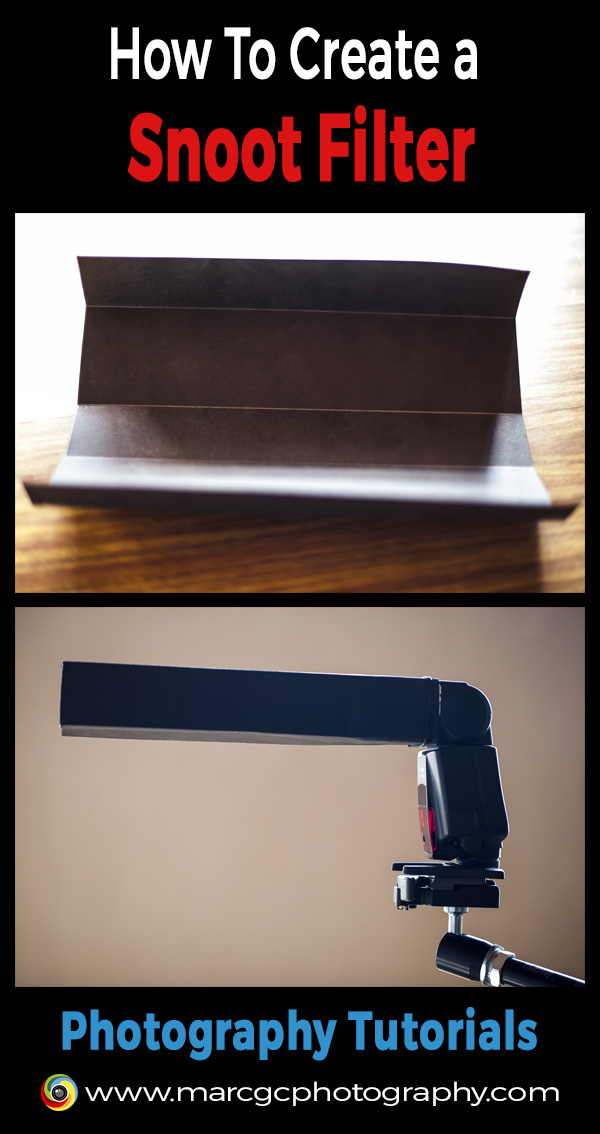
[/bscolumns][bscolumns class=”clear”][/bscolumns]
[bscolumns class=”one_half”]
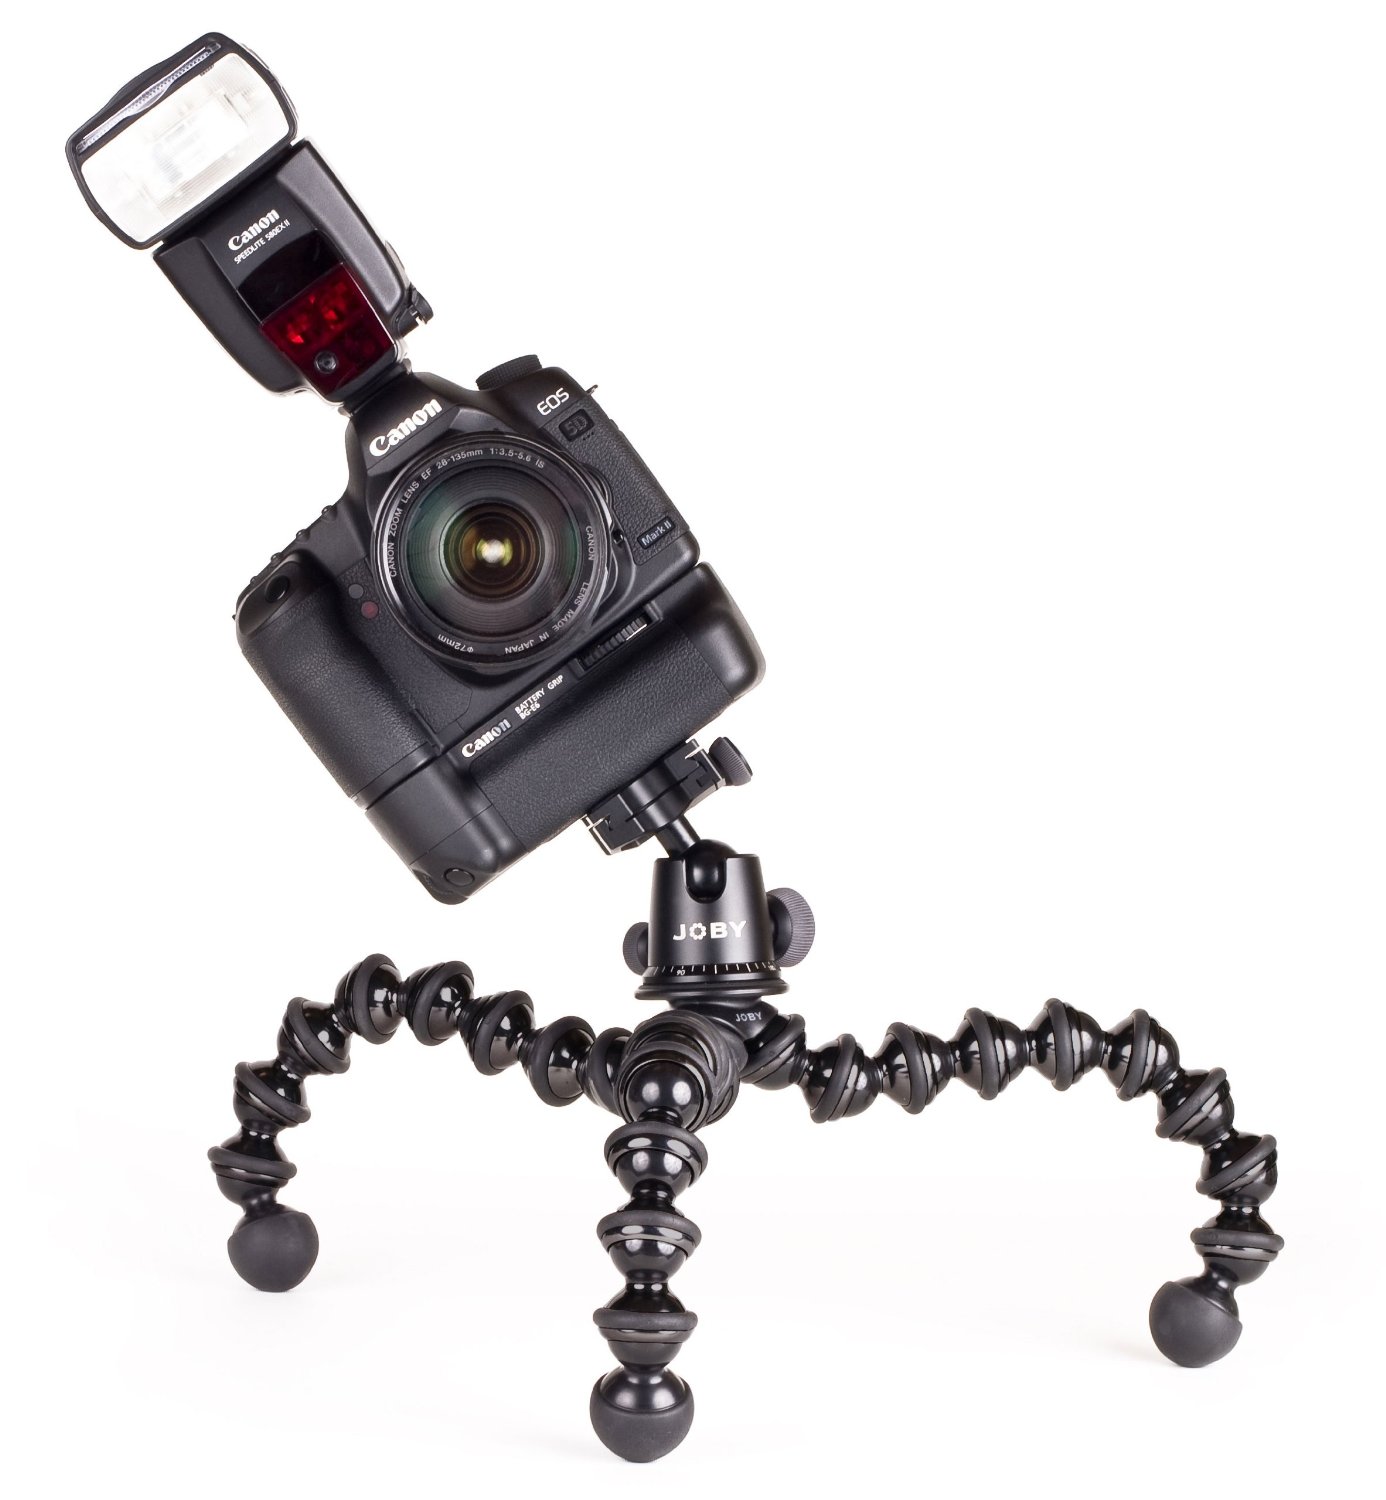
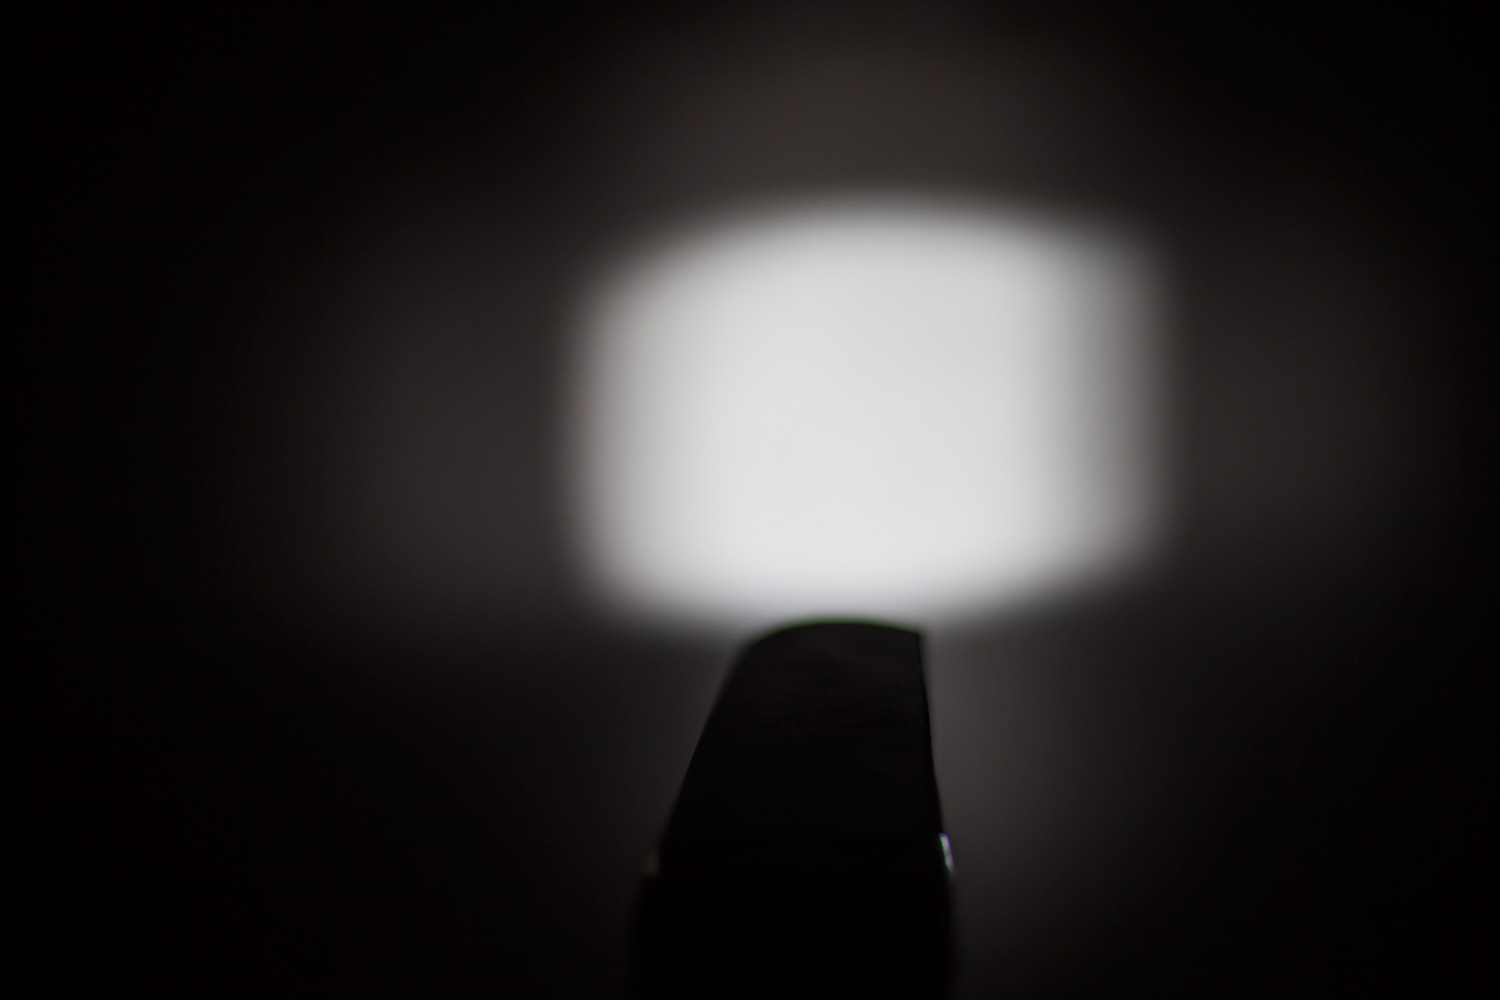 Flashgun with Snoot
[/bscolumns][bscolumns class=”one_half_last”]
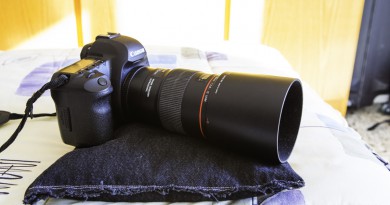
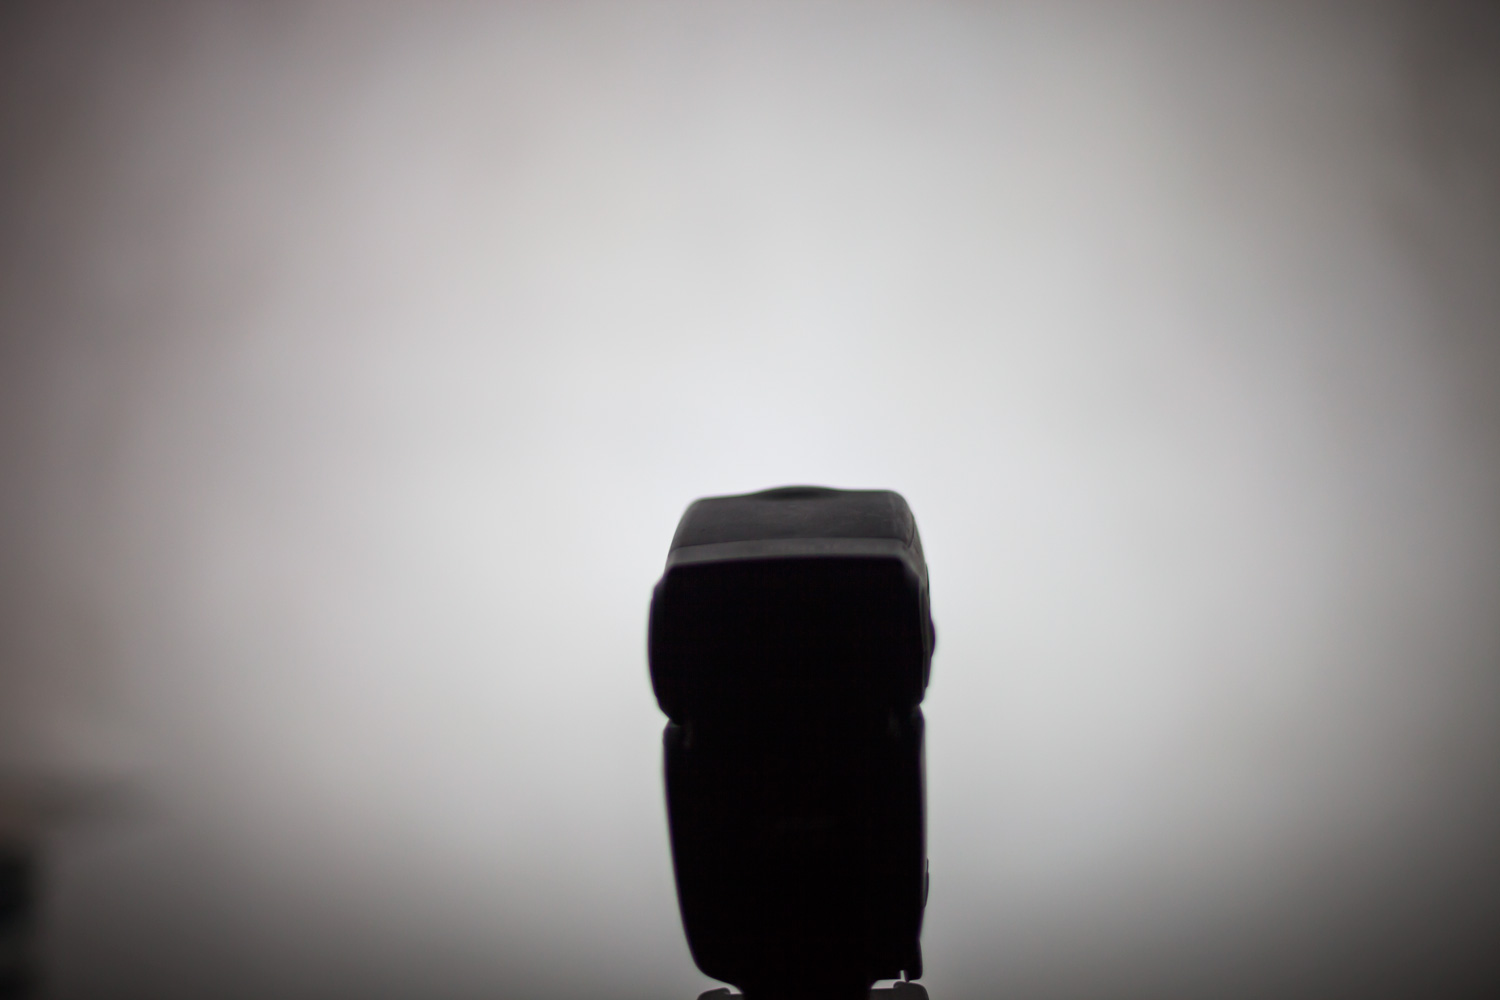 Flashgun without Snoot
[/bscolumns][bscolumns class=”clear”][/bscolumns]
Step-by-Step Instructions
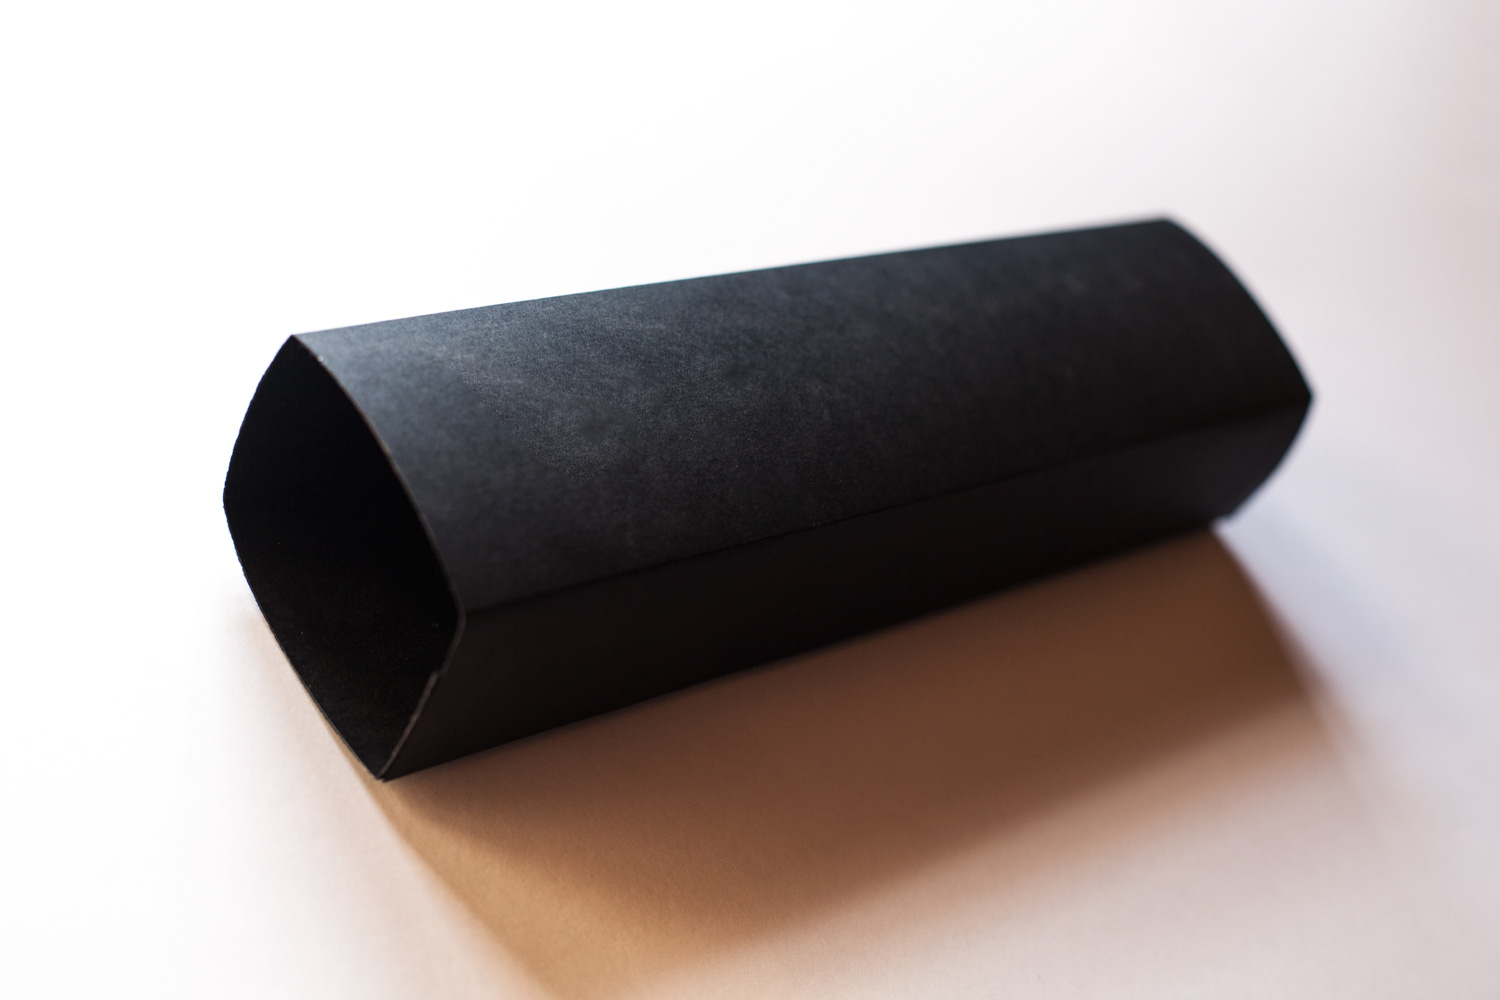
The first thing you need to do is measure the width and height of your flash head. You will use these measurements to create a rectangular box template that is open at both ends. You can use this draft as a guide:
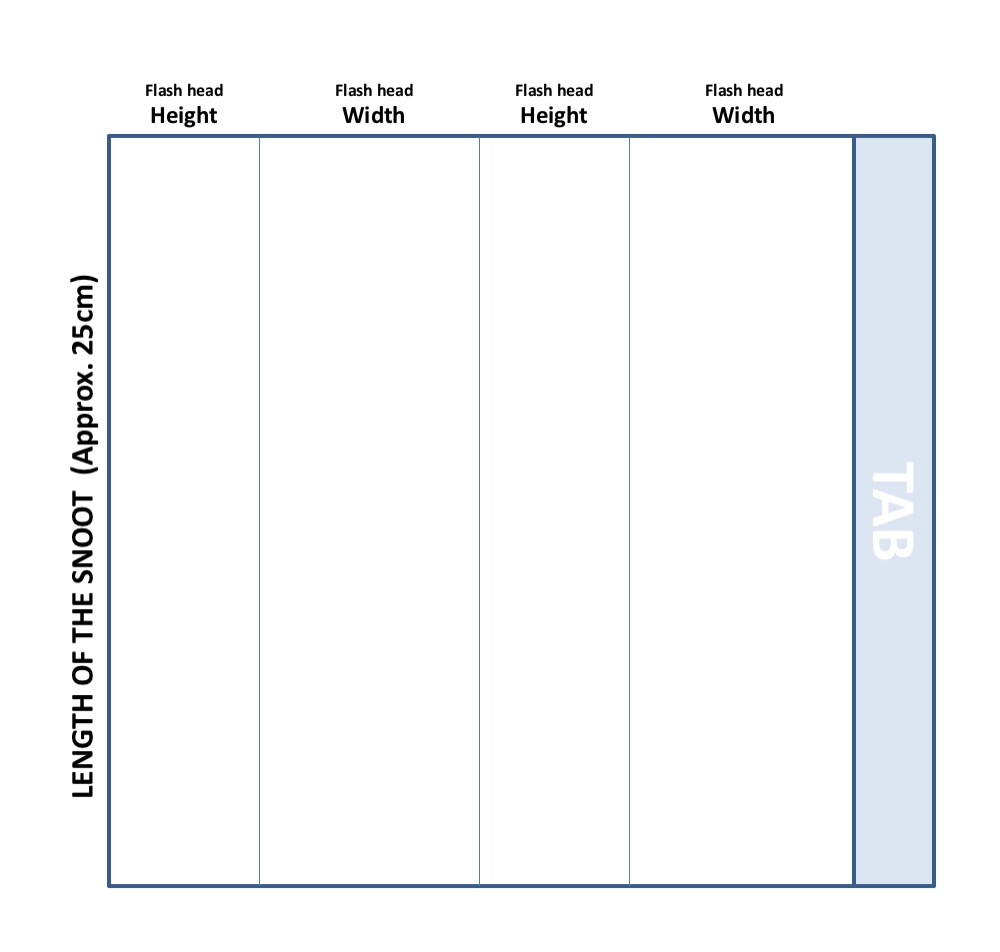
Draw the template on sheet of cardboard or black cardstock. A cereal box can be used if need be.
I recommend the black cardstock because this will make your snoot black on the inside. This is important for two reasons:
- A black or pure white snoot will not produce strange color cast in your final photos.
- A black snoot will produce a narrower beam of light than a white one.
You also have to consider the length of your snoot. The longer the snoot, the narrower the pool of light. And vice-versa, the shorter the snoot, the wider the beam of light. However, the length used here is safe for most common situations.
The next step is to cut out your template and fold the card. If you are using cardboard, it will be better if you use a ruler and a craft knife to score the fold lines before folding.

Apply glue to the tab and stick your new snoot together. If you are using a cereal box, remember to fold it so the printed side is outward, otherwise the print could introduce a colorcast on your shots.
If you have used a cereal box or something similar, you will want to wrap it with black duct tape to make it neater, stronger, and to help prevent unwanted reflections.
Finally, you only have to slide the snoot onto your flash head and use a Velcro strap to hold it in place. A plastic strap will also work; it is not the best, but it functions.

Conclusion
If you want to save a few bucks or you are in a hurry, making your own snoot is a good option. It will work as well as any one you can buy and you can do it in less than twenty minutes.
However, a snoot like this does not have the most professional look and obviously is not the most durable piece of equipment. Therefore, if you are planning to use one regularly, I recommend you consider buying one. They are quite cheap and if you are planning to use it in front of clients, it will give to you a more professional appearance. I found snoots online at Amazon for my shoots.

Pingback: Smoke Trails Photography | Marc G.C.