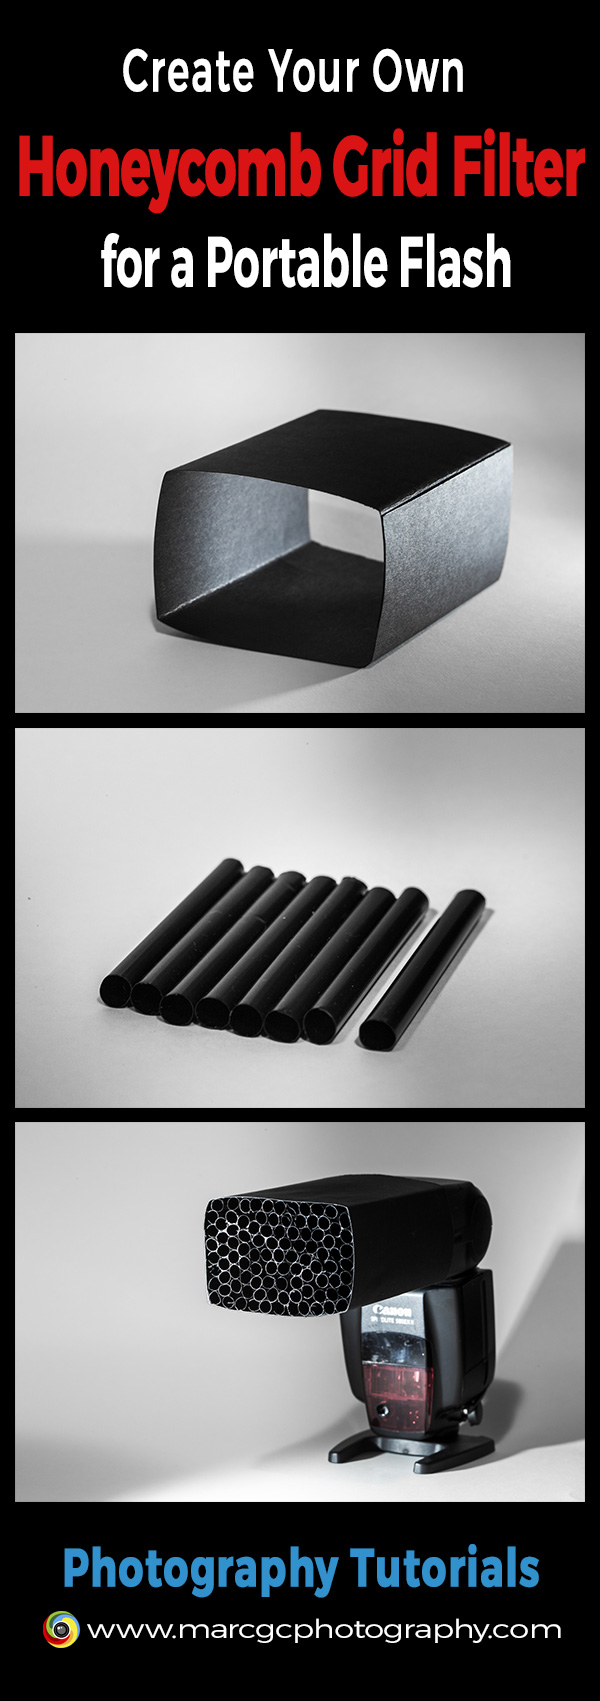
DIY Honeycomb Grid Filter for a Portable Flash
[bscolumns class=”one_half”]
Most portable flash units are designed to fire a wide spread of light to cover the scene you are photographing. However, in some occasions, it can be useful to concentrate the light into a much narrower spot. The most common reasons are to avoid light spillage when setting up a back light, to highlight a particular subject, or to prevent light from failing on a certain areas.
The basic light accessories required to achieve this effect are snoots and grids. In the next sections, I will show you how easy and cheap it can be to create a grid for your portable flash. And if you are interested in snoots, you can review a previous article in which I tell you how to create your own snoot.
The main difference between snoots and grids is the size of the device: a grid is much more compact and perfect to carry in your camera bag so you can convert your flash into a more directional light source.
What Do You Need?
- Portable flashgun
- Black cardboard
- Glue
- Craft knife
- Scissors
- Velcro or plastic straps
- Black straws
[/bscolumns][bscolumns class=”one_half_last”]
[/bscolumns][bscolumns class=”clear”][/bscolumns]
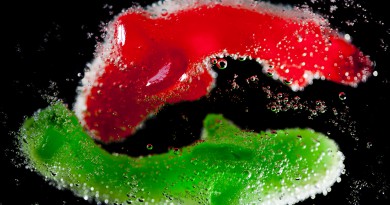
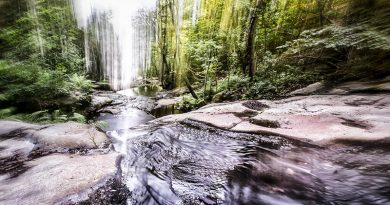
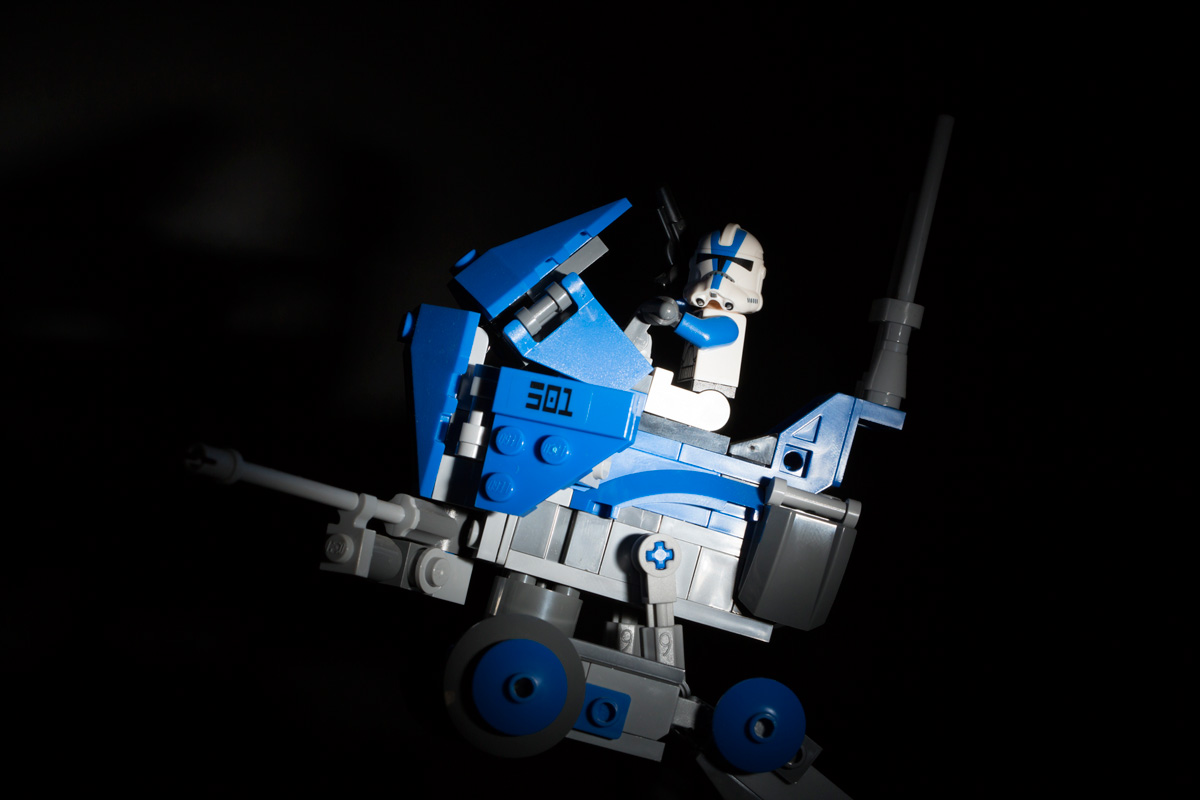 Photo captured using a honeycomb grid.
Step-by-Step Instructions
The first thing you need to do is measure the width and height of your flash head; use these measurements to draw a template on a sheet of cardboard. You can use the next draft as a guide:
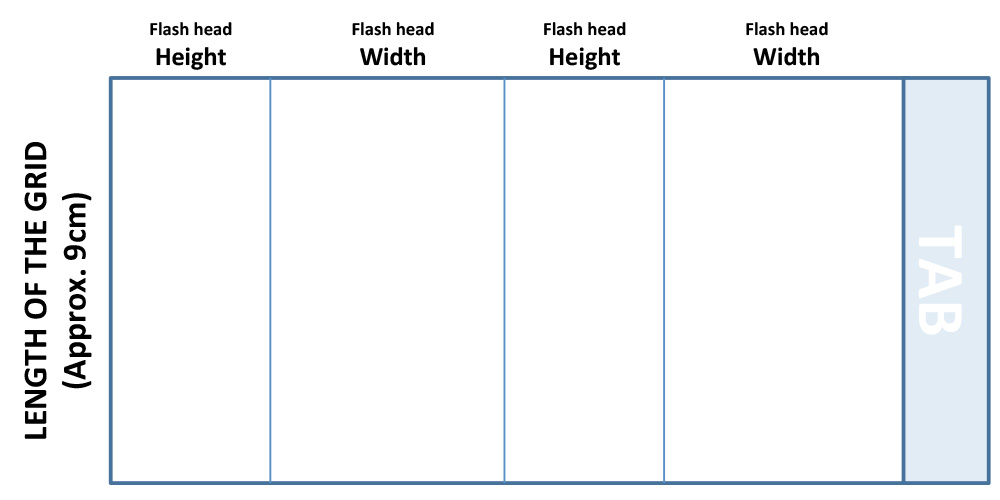 Honeycomb Grid Filter Draft
The next step is to cut out your template, use a ruler and a craft knife to score the fold lines, and fold it.
Apply glue to the tab and stick it together. At this point, you have constructed a snoot—it is a really short one, but if you try it on your flash, it will create a narrower light spot.
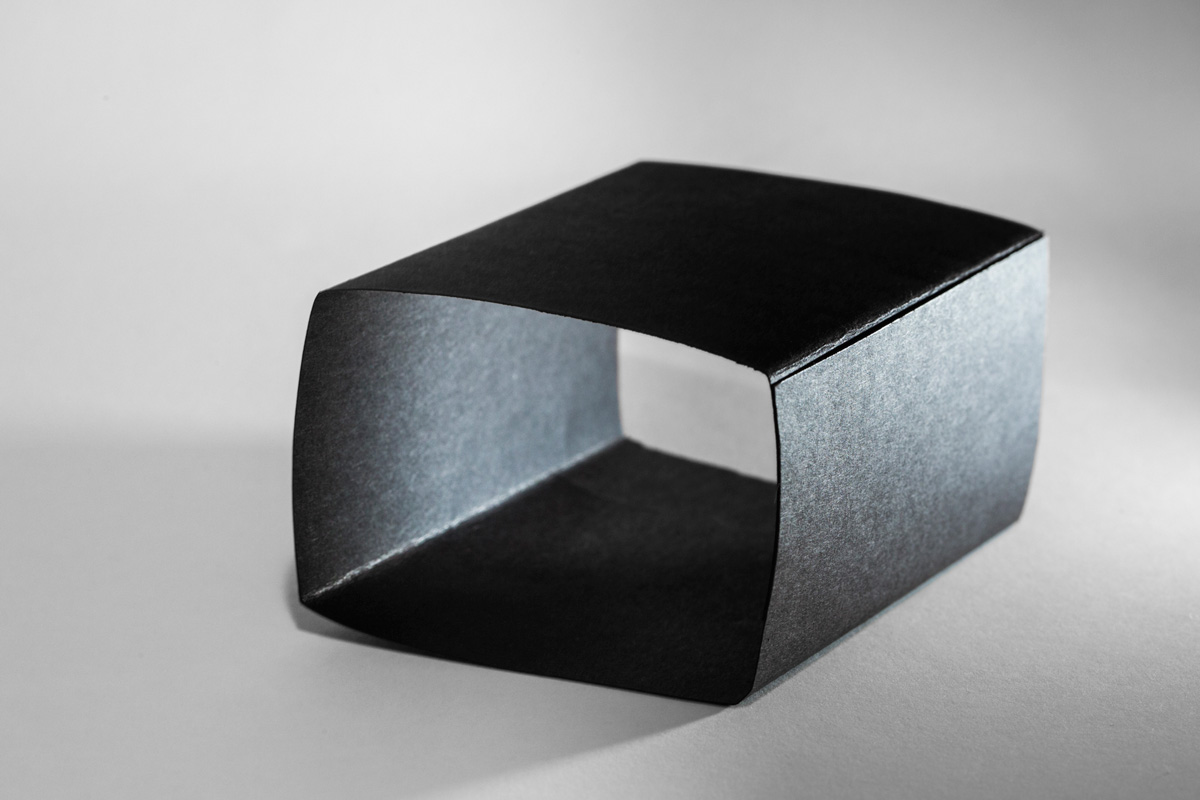 Short snoot
The next step is to fill the snoot with the black straws, which will act as guides to focus the flash burst into a narrow beam of light.
Cut the straws approximately five centimeters long and align them along one open edge of the snoot. Use glue to connect the straws to the snoot interior and each other.
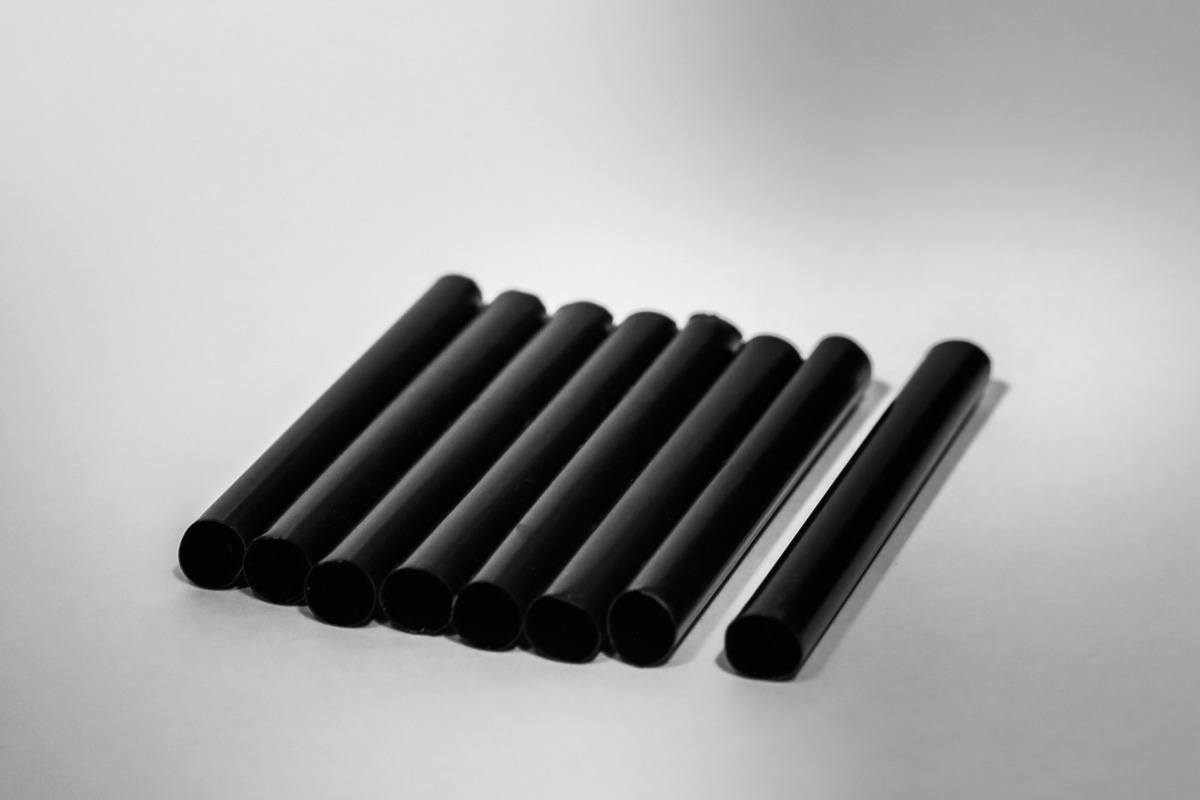 Black straws
Remember: the longer the straws, the narrower the spotlight effect will be. Finally, you only have to slide the grid onto your flash head and use a Velcro or plastic strap to hold it in place.
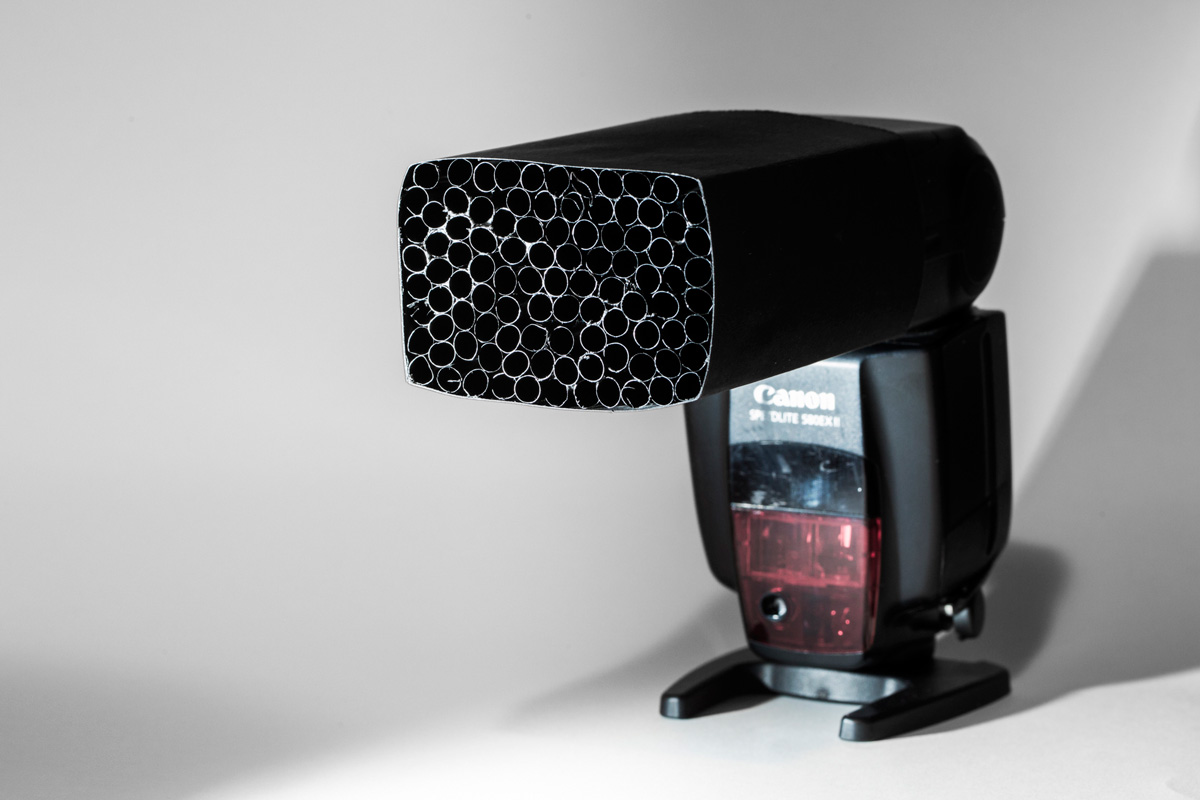 DIY Honeycomb Grid Filter
Conclusion
Creating a honeycomb grid doesn’t require a lot of effort and the materials are cheap. It is a great light modifier that can be used in a variety of situations. If you have never used one of these, now is the perfect time to try one and have some fun with your camera.
If you prefer to save you some time, and not to make your own grid; you can purchase a honeycomb filter from an online seller for a few dollars.
Please feel free to share your comments and feedback!