Panning and Blurring on Trees and Landscapes
[bscolumns class=”one_half”]
Panning is a photography technique usually used to capture objects in motion while blurring the background and giving a sense of speed at the same time. This technique is commonly for fast-paced sports, such as motorsports, but it can also be used in a more artistic way.
You will learn how to capture remarkable blurred trees, like in the examples below, and other less common, but interesting, ways to blur landscapes.
What Do You Need?
- Any type of lenses, one with zooming capabilities is preferable.
- Tripod (Optional)
[/bscolumns][bscolumns class=”one_half_last”]
[/bscolumns][bscolumns class=”clear”][/bscolumns]
What Does Panning Means?
Traditional panning consists of following a moving object from left to right (or vice versa) while capturing the subject as it passes. The exposure time must be long enough to blur the background. The main subject is kept in focus because we were following it during all the exposure.
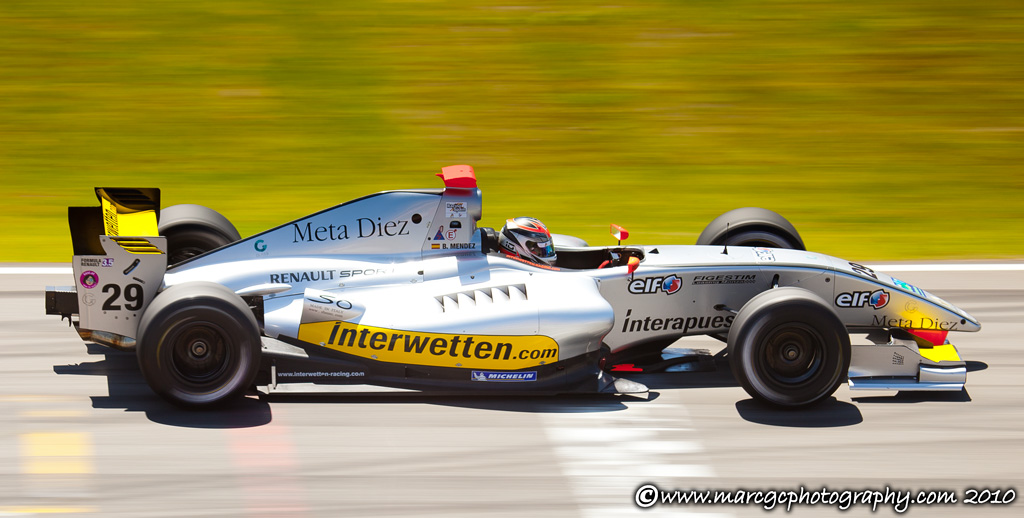 Using Panning Technique in Motorsports
If you are not familiar with the normal use of panning, I recommend you view this video from Adorama TV:
Blurring Trees
Taking a blurred trees photograph is quite easy. Using the instructions below as starting point, you can learn to take beautiful photographs in no time.
1) Find the right place. Ideally, it should be a forest of tall, straight trees that preferably have small and short branches. Locate an area with clean and short undergrowth if possible.
2) Color contrast between the trees and the background is important. It will improve the overall composition.
3) You must get the exposure time around one second. The easiest way is to set your camera on time priority and adjust the depth of field to achieve a photo that is not underexposed or overexposed.
4) Take your photo: start panning vertically across the trees. I usually pan from down to up; I think it is more natural.
5) Move your camera quickly to get extremely blurred photos and move it slowly to get less blurred and more realistic photos.
6) Pay attention to how much sky is in the frame; it is very easy for the photo to get overexposed.
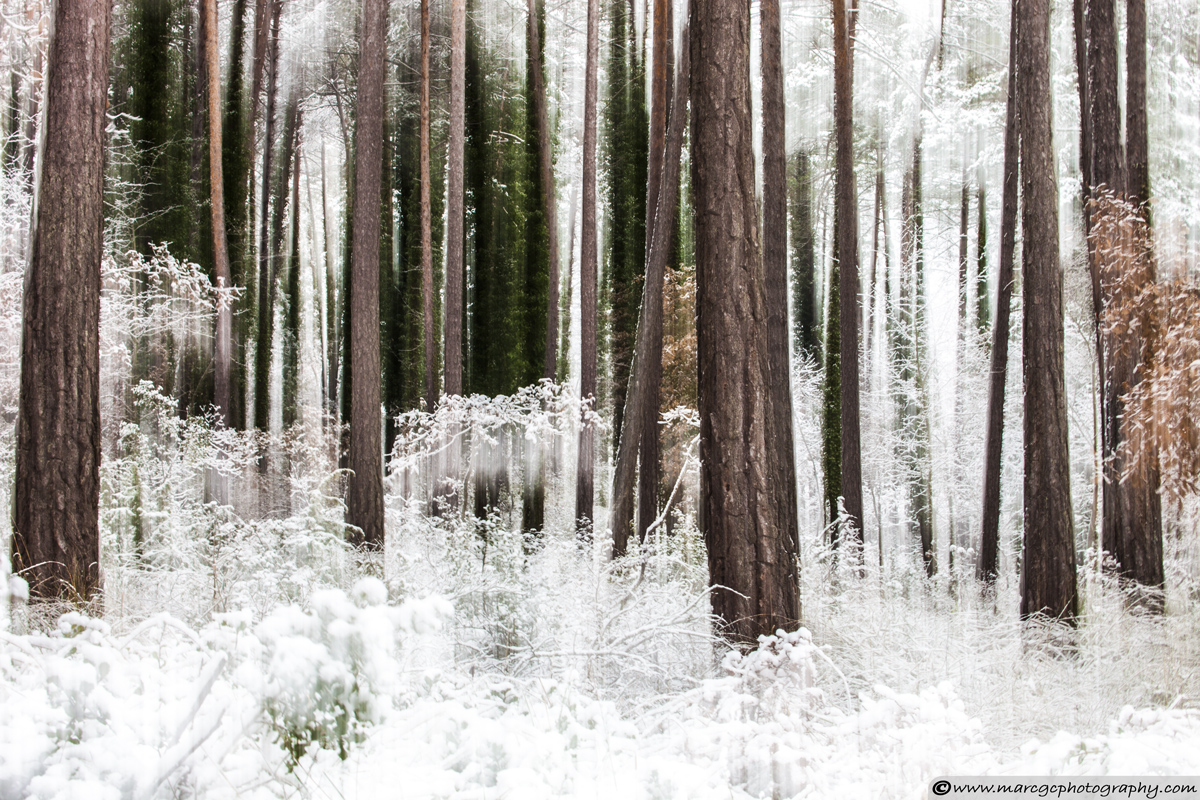
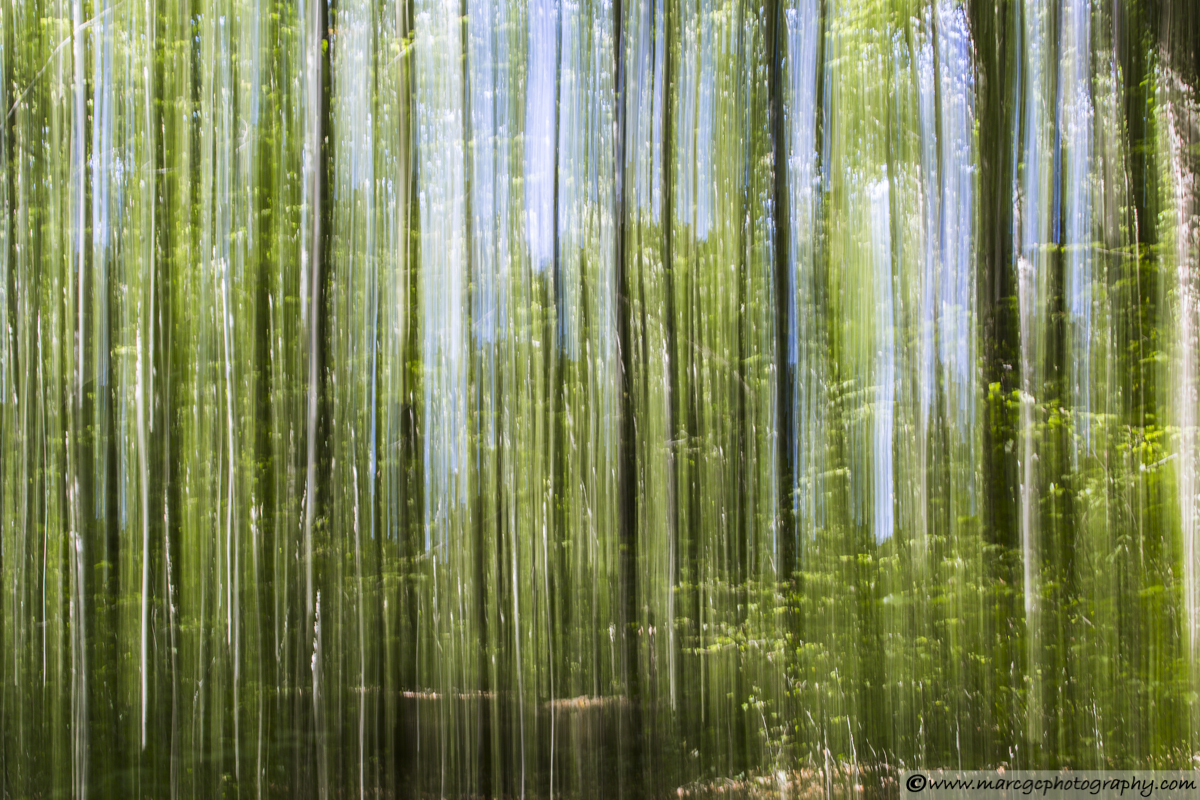 Empty Forest – Blurred Trees Example
Blurring Landscapes
The same tips and suggestions for trees can be applied to blurring landscapes, but consider these tips as well.
1) Normally, horizontal panning will be more appealing on landscapes.
2) The best spots will be locations with a great deal of color contrast and clearly defined layers. For example, in the next picture you can clearly see the difference between the sea and the sky.
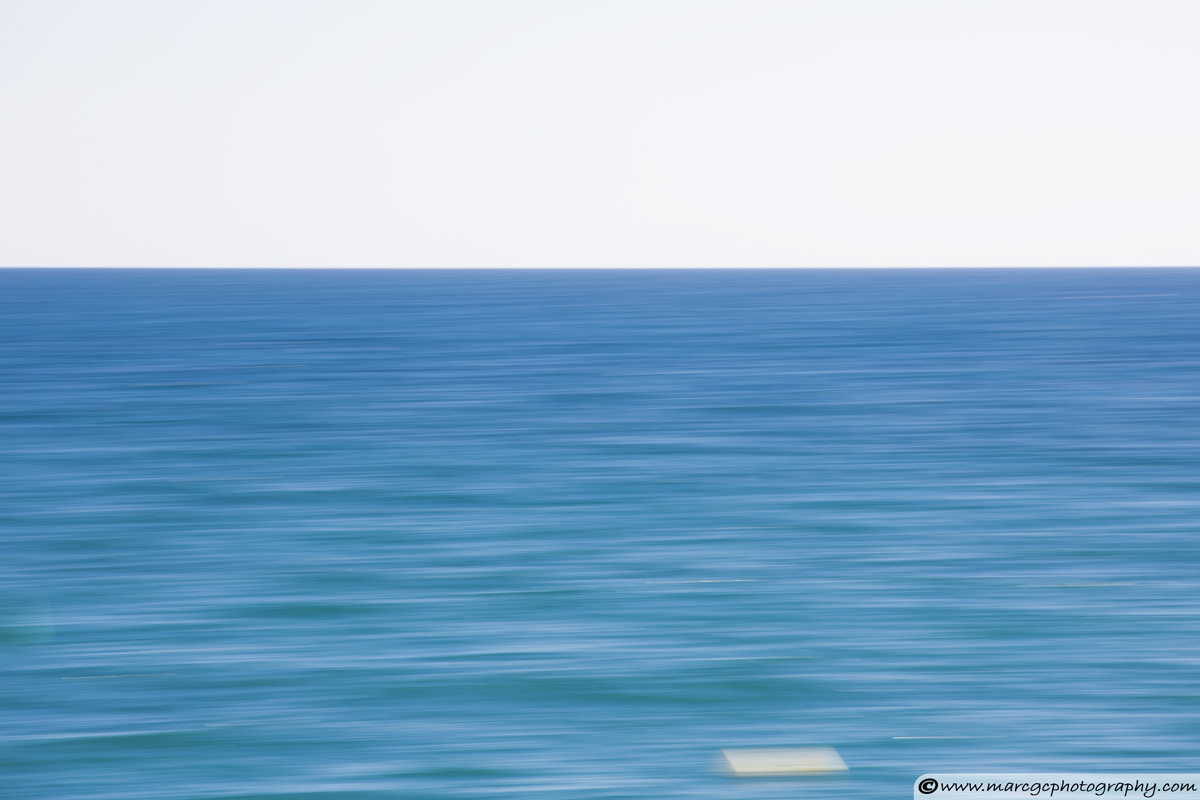 Never Ending Story – Blurred Seascape
Blending Panning With Still Photographs
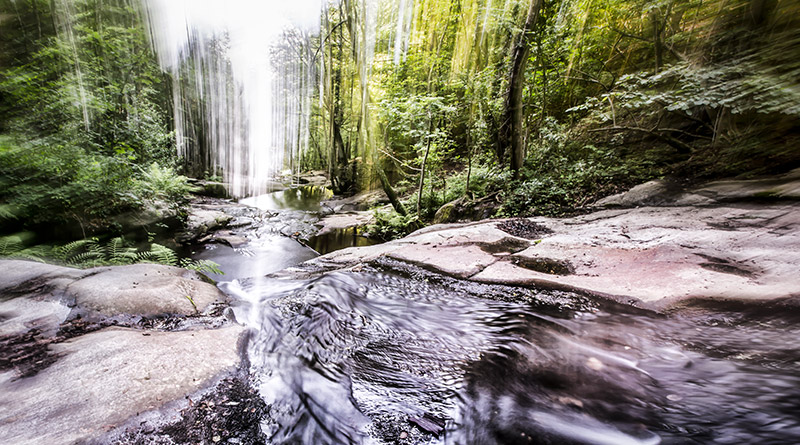
The next photograph has both the still image of the path between the trees and the blurred lines of the trees. This is not a Photoshop trick; you can easily achieve this effect.
1) Keep the camera still for half the exposure time. For example, if you set your camera’s exposure for one second, keep it still for one half-second.
2) After this half-second, start panning the camera; this will produce an effect similar to a double exposure picture.
3) Using half of the exposure for movement might not always produce the desired effect; this will depend on the light conditions. Experiment with this ratio until you get the results you want.
4) You can also experiment with the panning speed. Different speeds will produce very different results.
 Ethereal Forest – Mixing Panning and Still Photographs Example
Zooming Instead of Panning
While this technique is inventive enough to deserve its own article, I will briefly introduce it here. If you are using a lens with zoom capabilities, you can “pan” by zooming in or out during the exposure to get interesting images. In essence, the zoom effect will create motion lines towards or away from your subject.
The following suggestions will help you create better images.
1) Keep the camera still to get straight lines. Using a tripod helps, especially in low light situations.
2) Work on smooth zooming; by maintaining a constant zoom speed throughout the exposure, you will get smooth motion lines.
3) In the last point, I explained to you how to mix still photograph exposure with panning exposure. Using the same technique, replace panning with zooming and you will create a fantastic photograph.
4) Zooming in or out from the same subject will produce different results. Experiment a little bit to create your final image.
5) You do not have to use the full zoom capability of your lens; experiment with different ranges to get the best effect. For example, if you are using a 24–70 mm lens, is ok to use all of it. However, the full zoom in a 70–300 mm lens can be too much.
Remember, the important thing is to experiment and have fun. There is no “right” way because each subject and photograph is different.
 Zooming Effect Example
Common Problems and Solutions
1) Too much light: If you are shooting in daylight, it will be difficult to obtain a long exposure time. To prevent this, get your ISO setting as low as possible and increase you depth of field as much as you need. It is also possible to reduce the need for a long exposure time by panning your camera faster; this will require more practice, but you still take good photos.
2) Not enough light: You can use a tripod to resolve this issue, but make sure your exposure times are not too long. This will make it difficult to ensure a smooth effect.
3) Panning or zooming lines are not straight: This is my personal opinion, but generally, this kind of photo is more appealing with straight lines. The best way to ensure the lines are straight is to use a tripod with a head that allows you to separate movement on different axis.
Post Processing
Try not to over process your photographs. Be especially careful with saturation and vibrancy unless you are looking to create extreme surreal images. Usually, images with more natural colors are more visually appealing.
I only use Lightroom to edit this kind of photograph. I start by adjusting exposure, then modify the contrast and clarity controls, and finally I fine tune by adjusting the blacks and highlights.
Conclusion
I have fun taking photographs like these. For me, it is a way to free my imagination and express my most artistic side. Each of these photos is different, but all of them share a nature background that I love.
The next time you visit a forest, try it for yourself. Taking this kind of photo can be as easy as it looks. Look around and try to find the best composition; you will be amazed by the results.


Good stuff. This has given me ideas. Thanks!
Great tip, many thanks for sharing, I think I will give it a go! Cheers