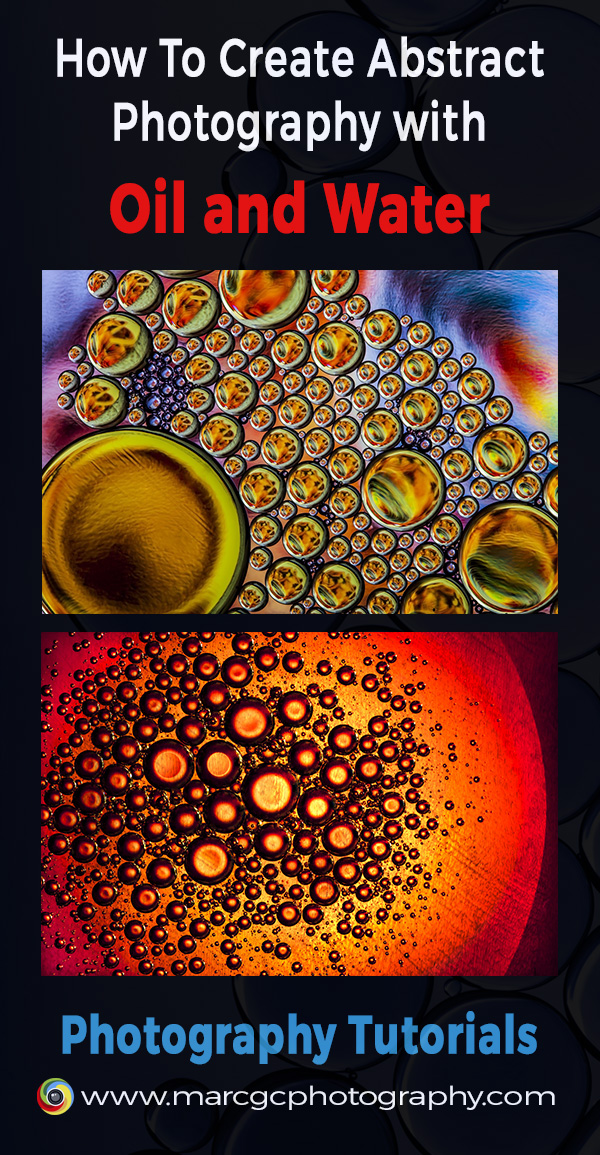
Creative Photography using Oil and Water
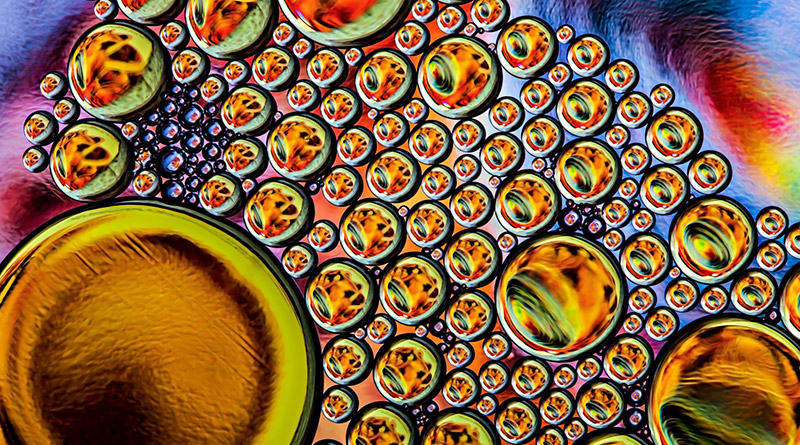
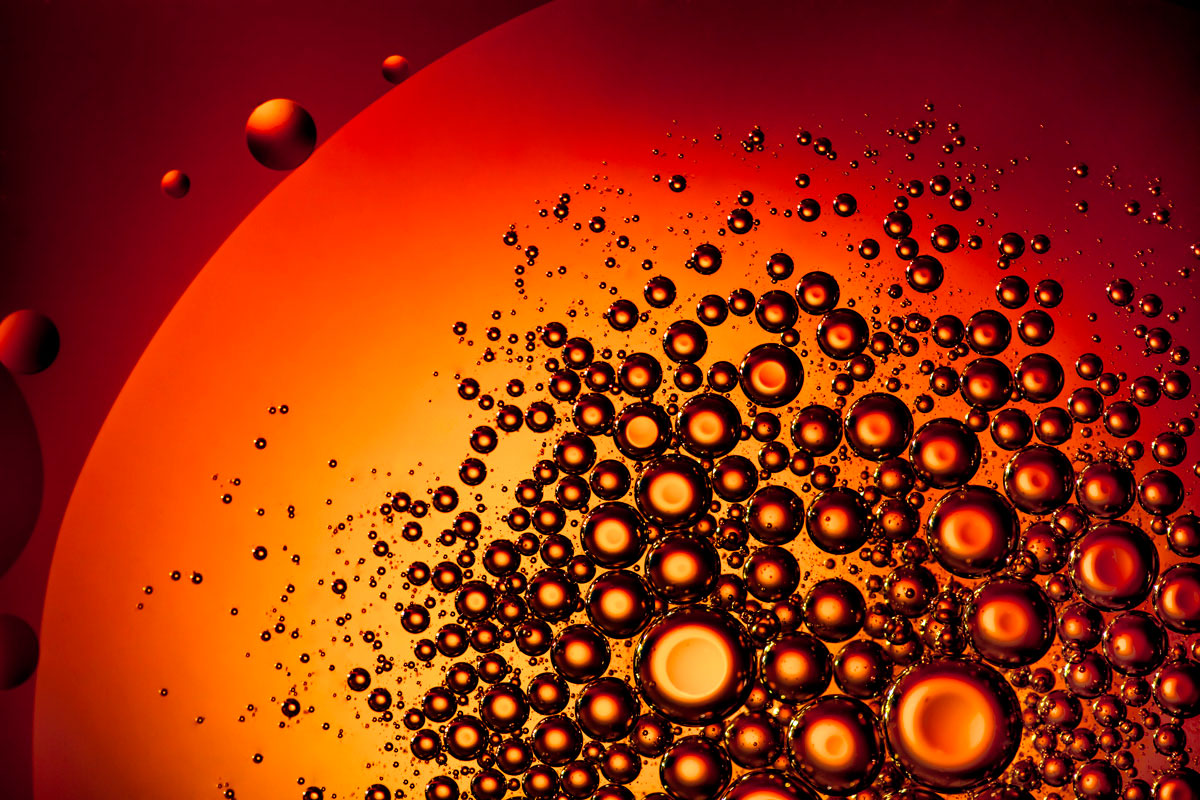
Have you seen photographs like the ones below? These images look complex to capture, but in actuality, they can be created easily with the right guidance and preparation. I have been experimenting for a long time with this technique and I can promise you that if you follow this tutorial, you will be able to get amazing results, have fun, and improve your photography skills all at once!
In the next paragraphs, I will tell you which materials you are going to need, the setup, and ideas on how to shoot your photos and finally, a few tips to dramatically improve your post processing work.
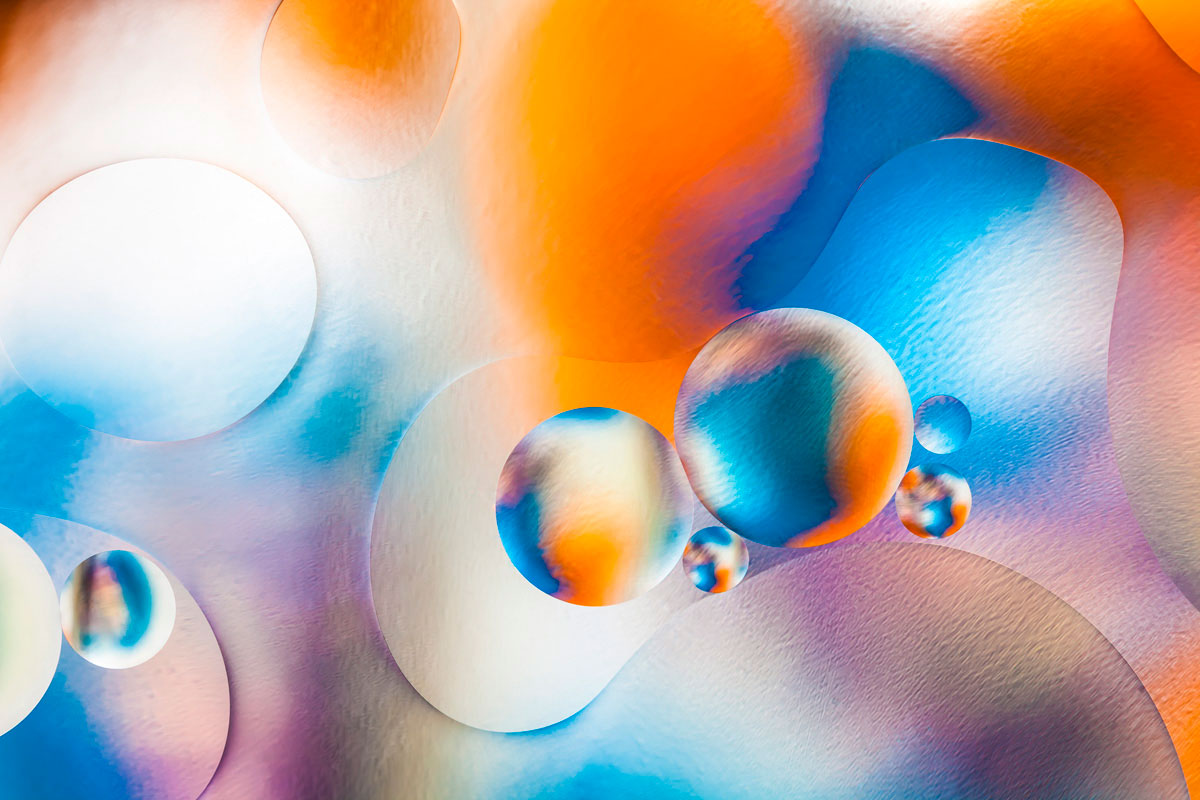
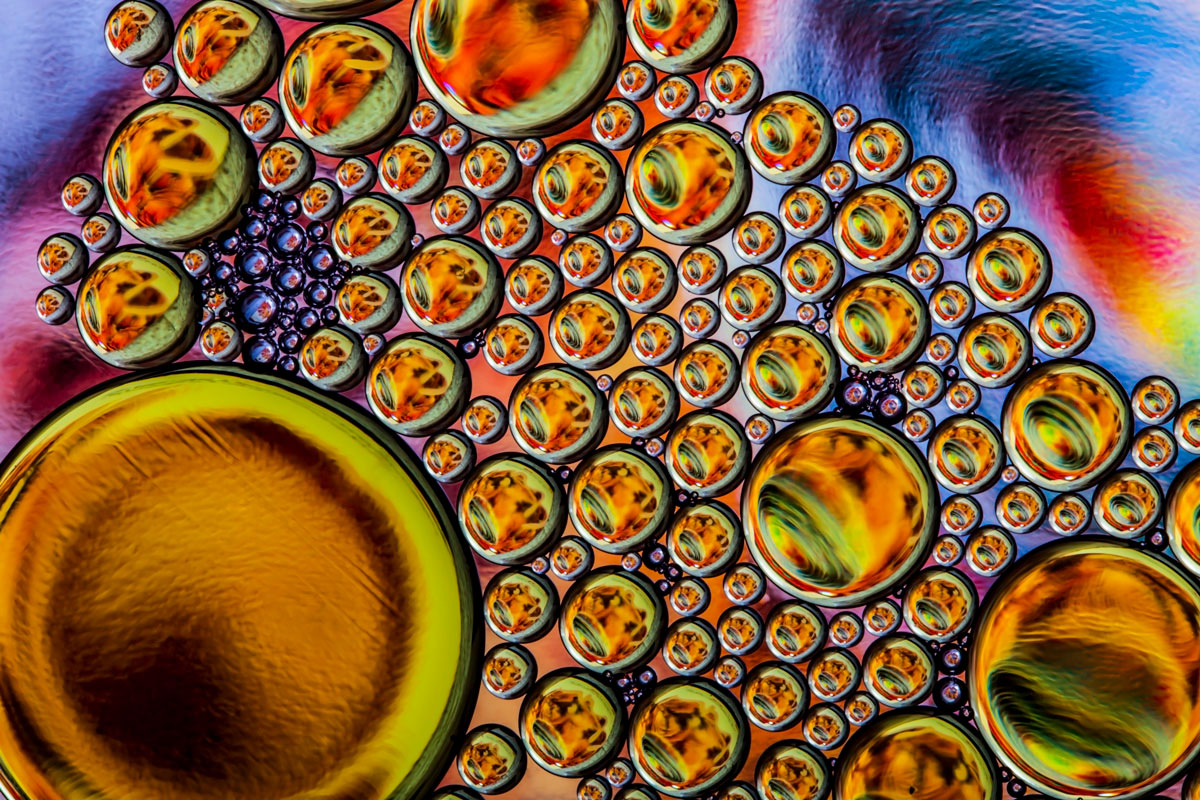
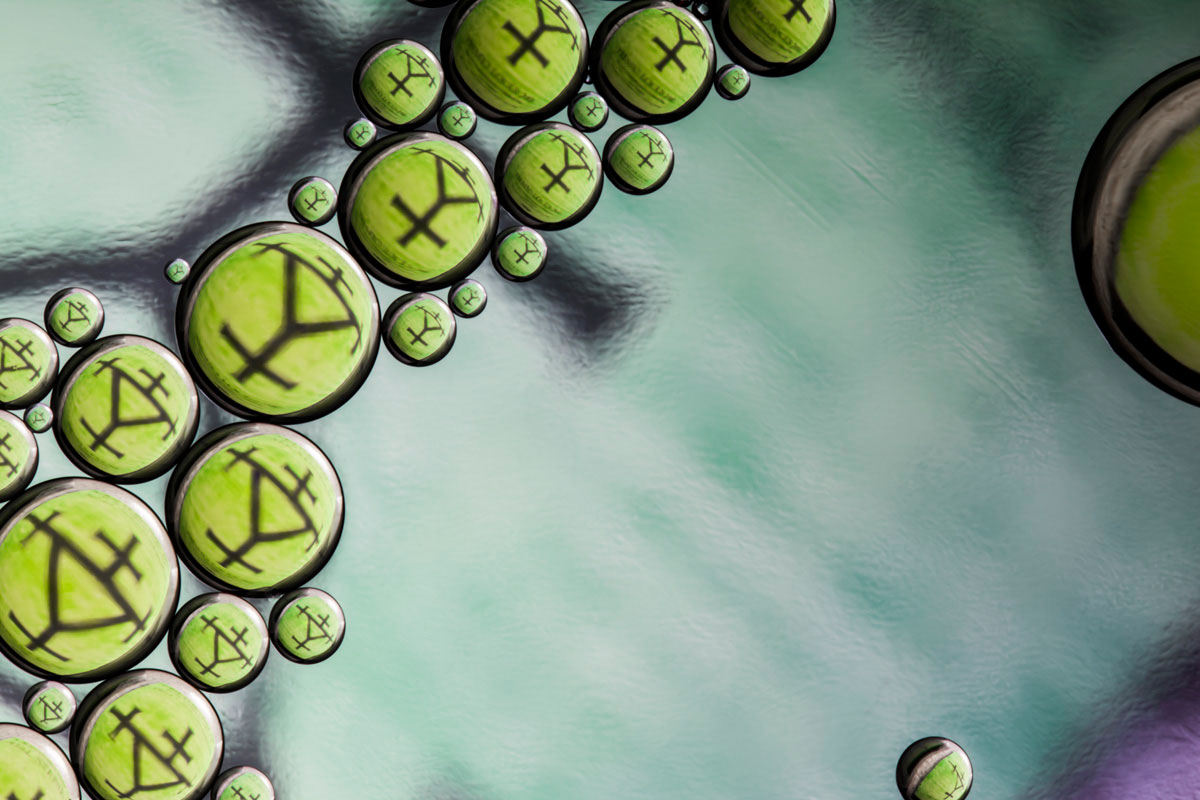
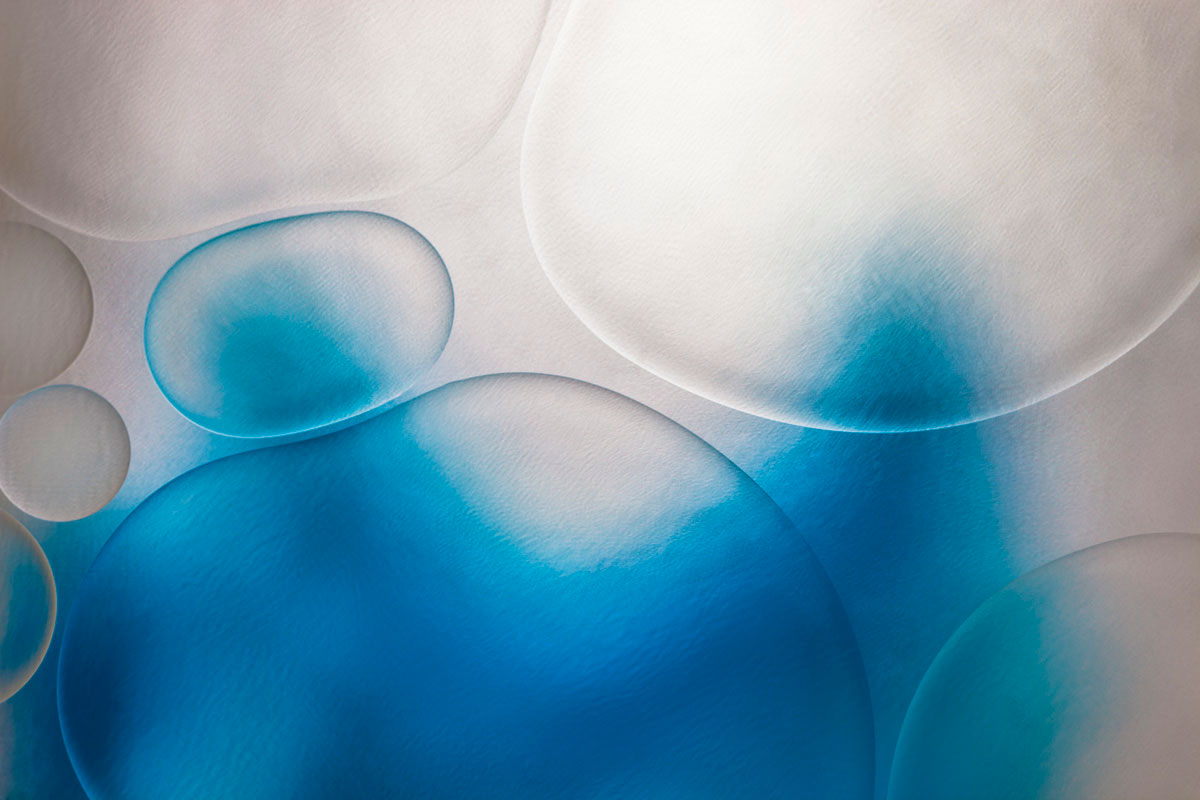 White and Blue Oil Bubbles
What Do You Need?
[bscolumns class=”one_half_no_bottom_margin”]
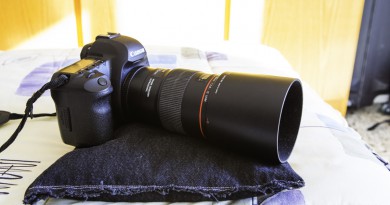
- Macro lens
or extension tubes.
- A tripod–ideally one that allows you to set up the center column in horizontal position.
- A transparent glass container without any logo or scratches on the bottom. Clean it before the shoot and pay special attention to avoid fluff from the cleaning cloths. This will save a lot of time during the post processing.
- Colorful backgrounds: you can use magazines, color cardboards, CD/DVD covers, a T-shirt from the 70’s or anything with strong colors.
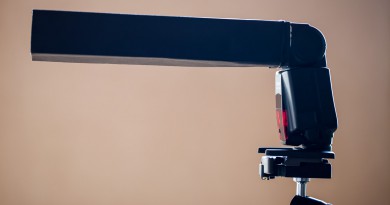
- Offline flash unit. If do not have one, you can use a desk lamp.
- Liquid dish soap.
- Oil: I use olive oil and it works perfectly but others can be used as well.
[/bscolumns][bscolumns class=”one_half_last”]
[/bscolumns][bscolumns class=”clear”][/bscolumns]
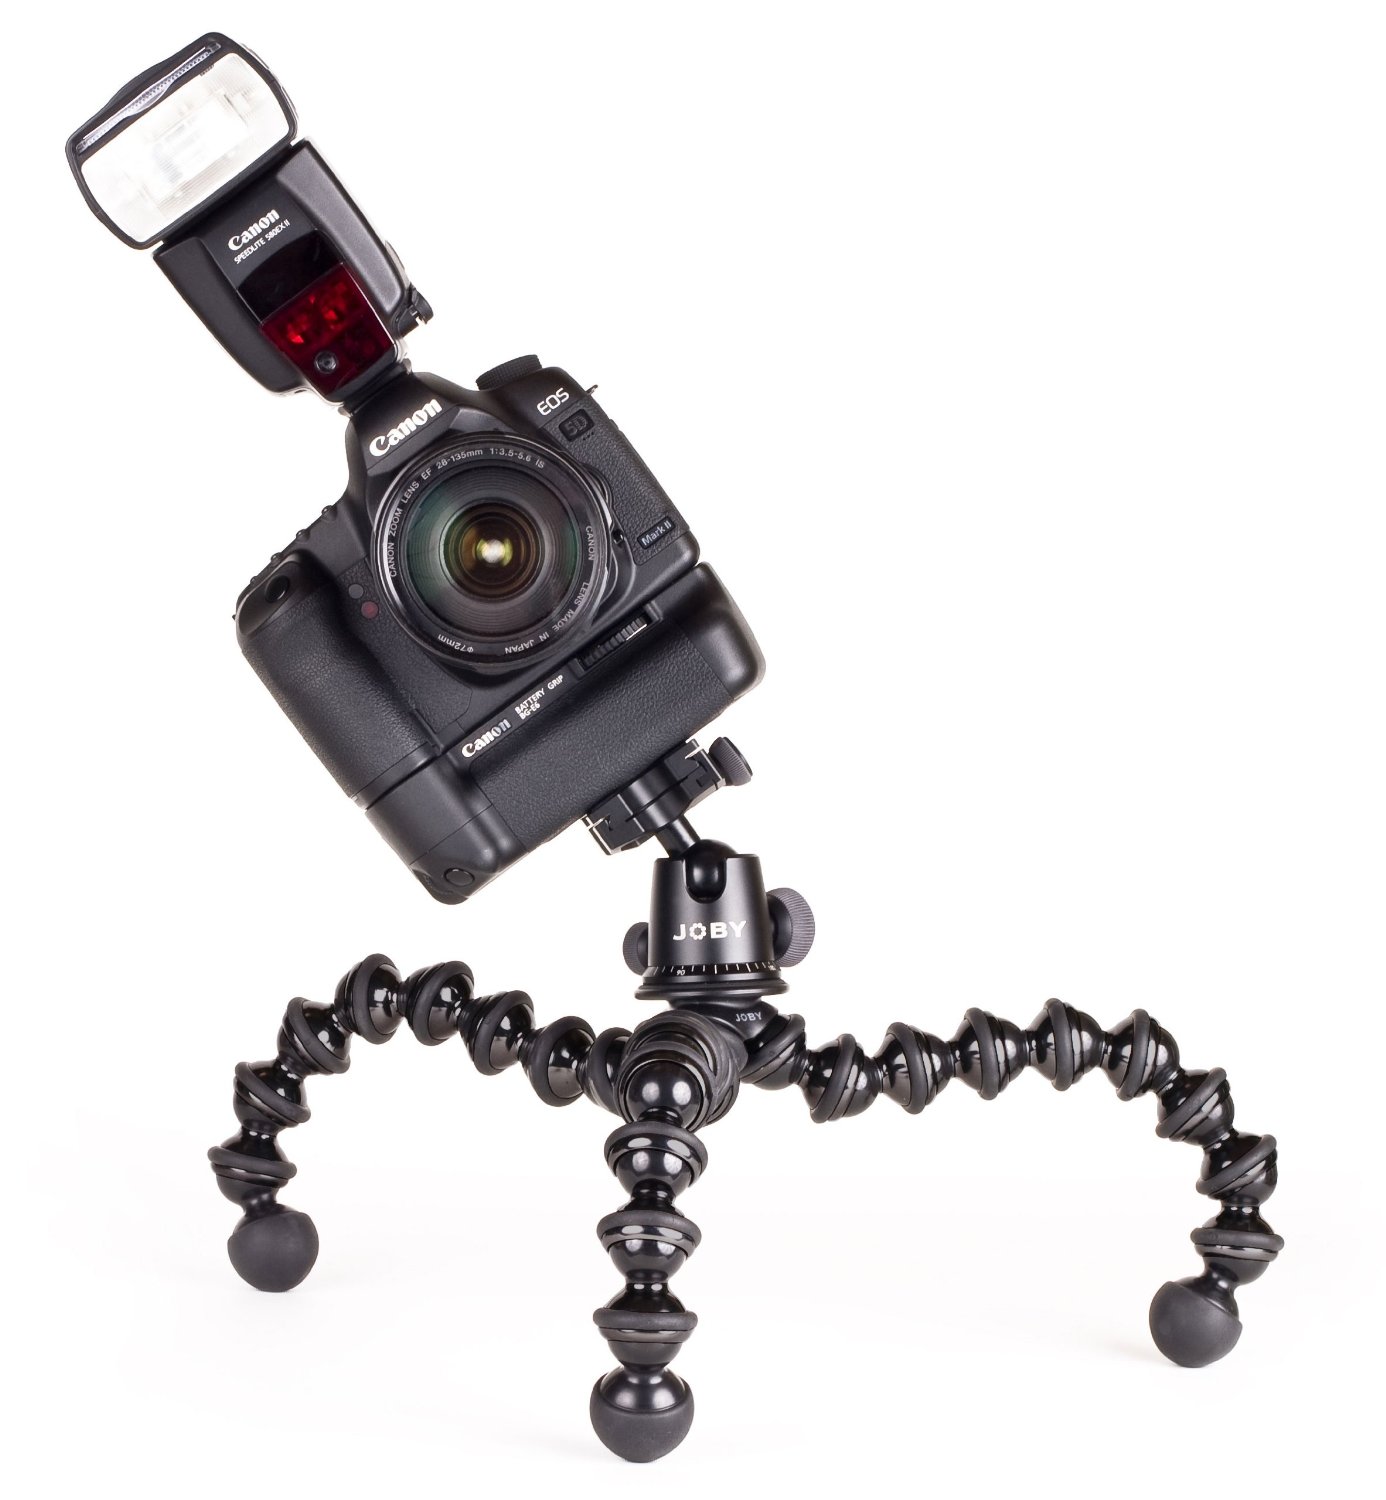
Step-by-Step Setup
As you can see from the photographs, the setup is quite simple. First, hold your glass container a certain height from the floor. I used to put it relatively high, about 15 inches (40 cm), because moving the photo background (in this case the green cloth) up and down is much easier than moving a tray full of water.
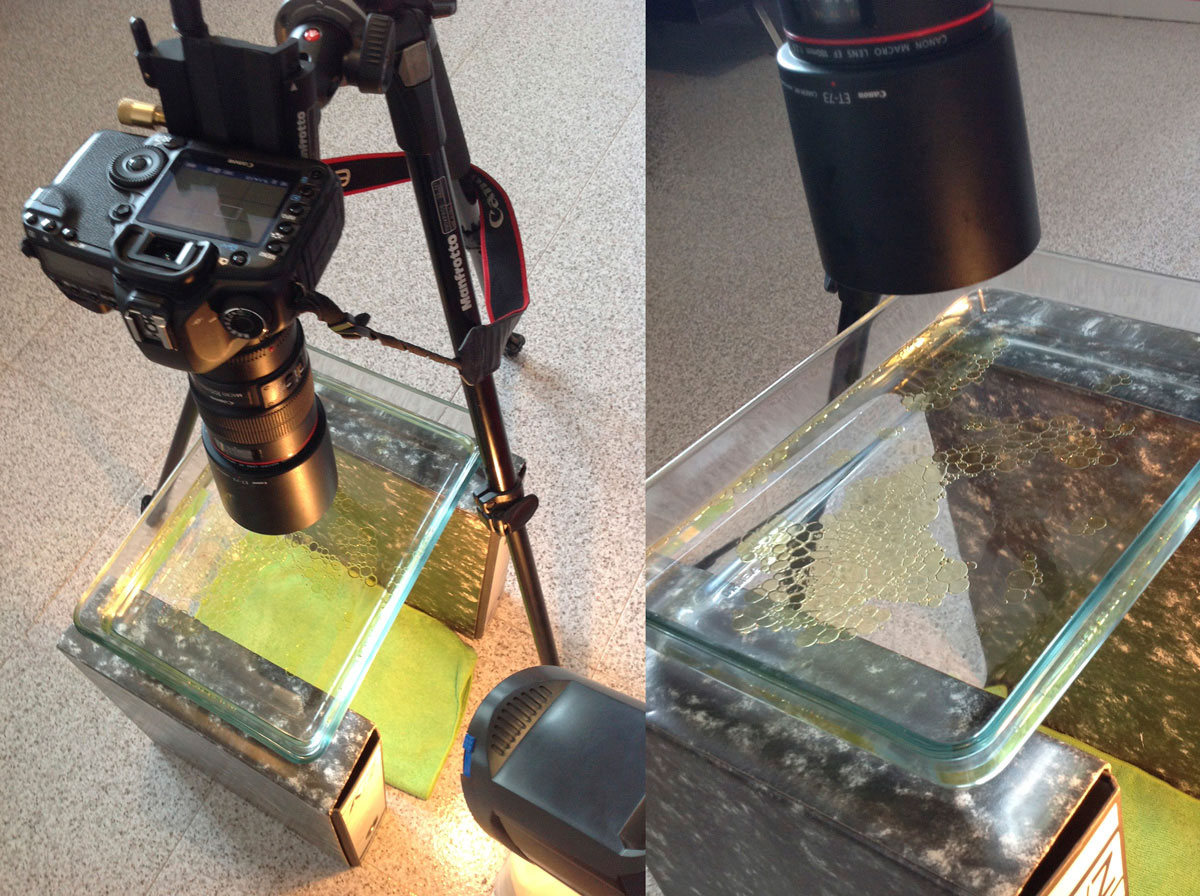 Oil and Water Photography Setup
The next step is to fill the container with water. How much water depends on what kind of photo you want to obtain. You have two basic options:
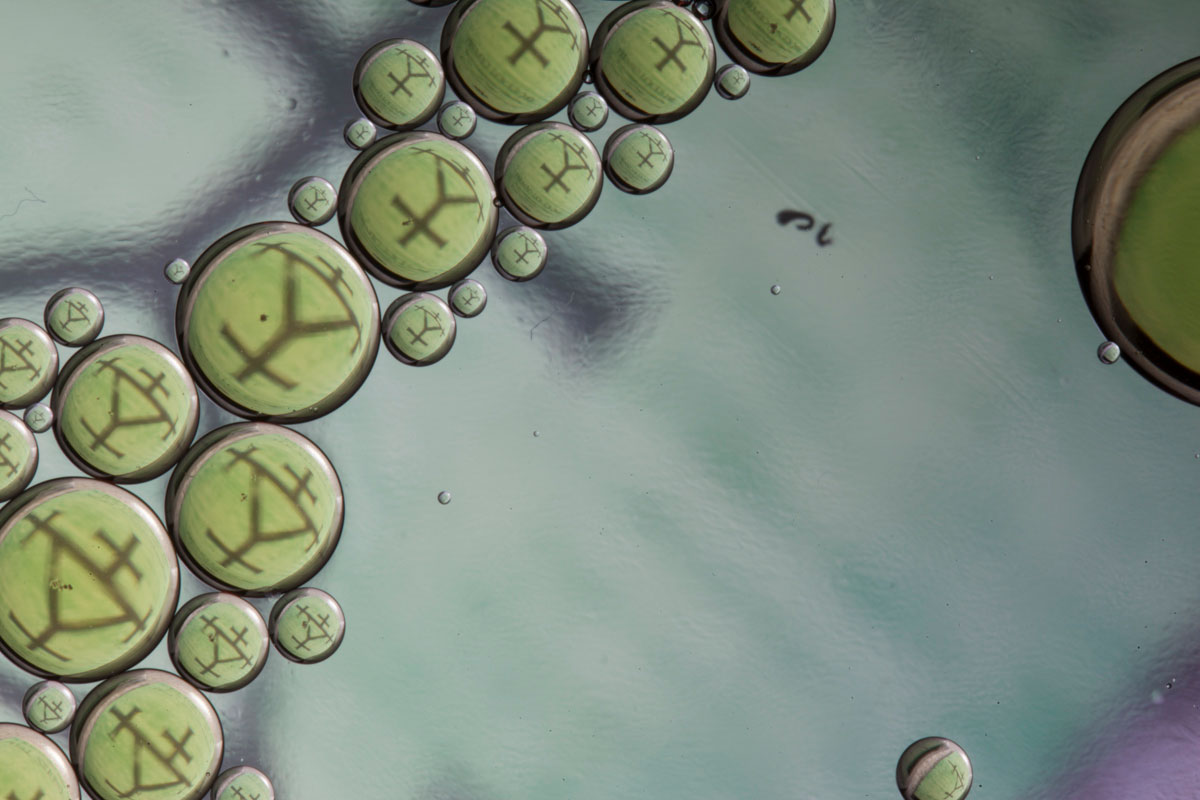
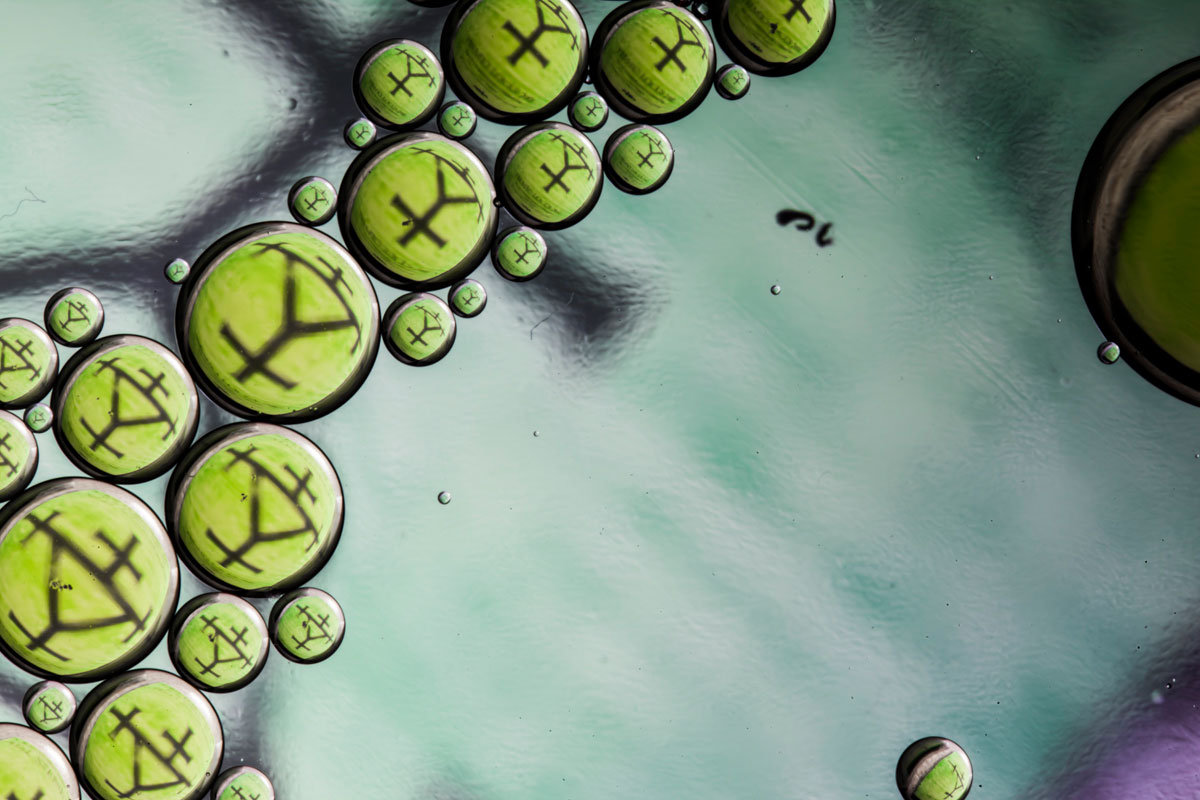
1) Add a small amount of water and you will get some textures from the glass. This is because you will be focusing your camera onto the water surface and in this case, the glass will be really close to it.
 Oil and Water Photograph with Glass Textures
2) Add approximately 2 or more inches of water (5 cm) and the textures from the glass tend to disappear.
 Oil and Water Photograph Without Glass Textures
Determining whether or not you want glass texture in your final picture is more an artistic decision than anything else. Experiment with both setups and discover which one fits better on your artistic view.
Now it is time to put the oil on the water. Again, you have options.
1) Oil only–If you drop the oil in the water, the bubbles will have a flat appearance.
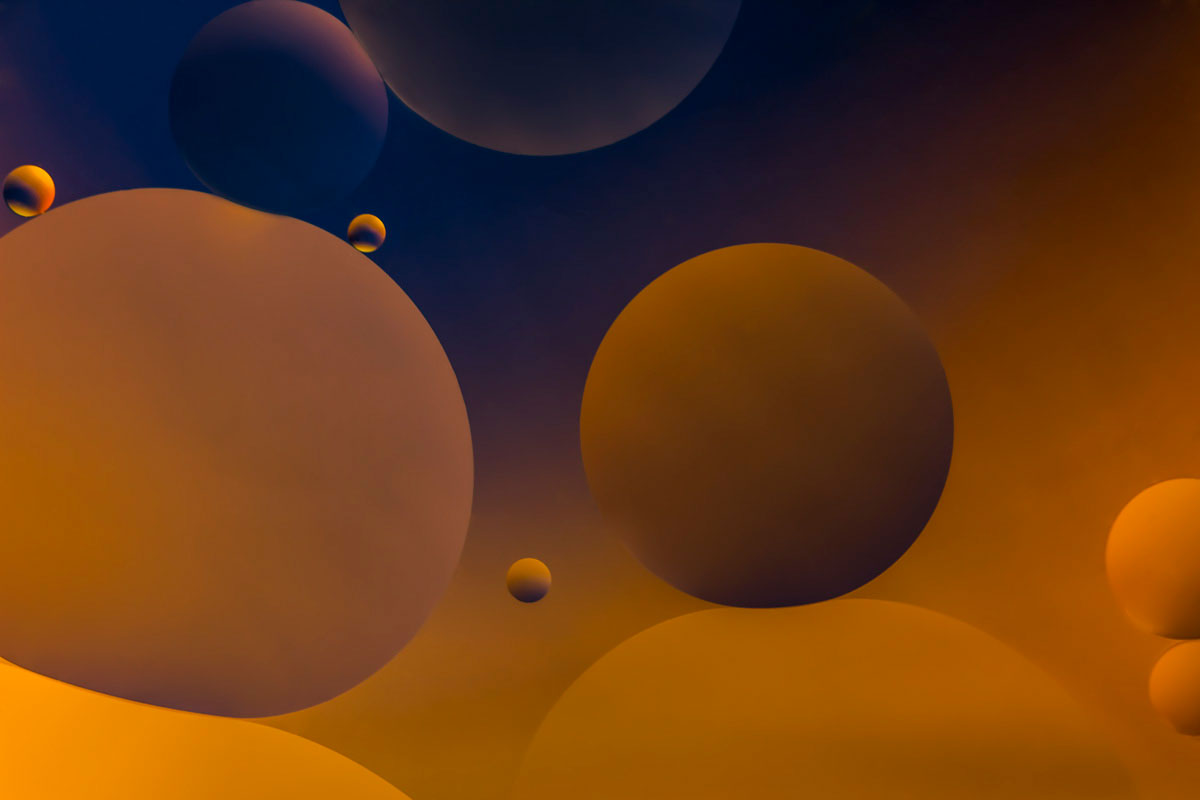 Flat Oil Bubbles Photograph
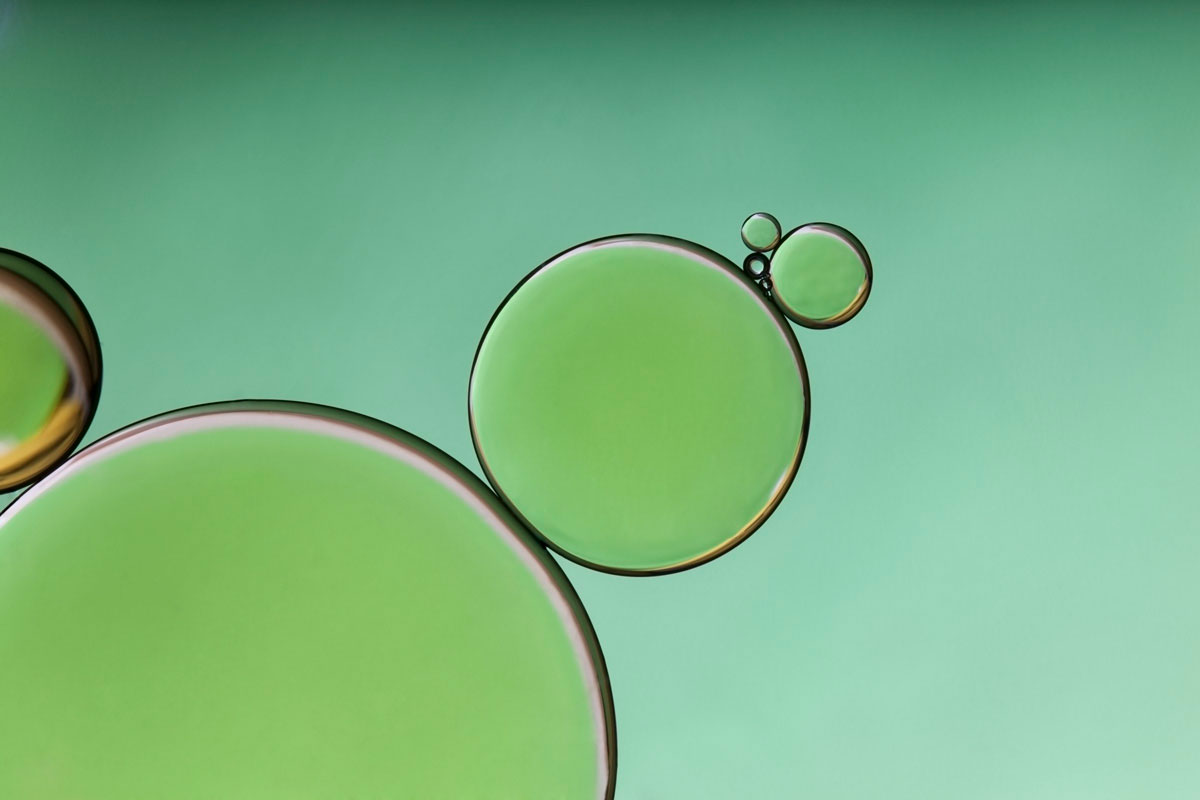
2) Oil and Dish Soap–If you add a drop of liquid dish soap in the water you will observe that the oil circles get more relief.
 Oil Bubbles with Some Relief
3) Oil and Straw–Before I discovered the liquid dish soap trick, I used a straw to quickly and repeatedly poke an oil circle to create small air bubbles inside. You can still use this technique to mix the flat oil bubbles with the other bubbles with more relief into the same photograph.
 Flat Oil Bubbles with Air Bubbles Within
The final step is to setup your lights. The simplest way to do this is to point your offline flash unit directly into the background, and always, try to avoid direct reflections into the camera lens.
If you put your light source at a very low angle, part of the photo will be darker than the rest. You can solve this problem by putting it at a higher angle or adding a second light on the other side but at the same low angle to create constant lighting in the entire photo.
I like to play with one light and have some dark areas in the photo, but each photo is different, and again it is just a personal artistic decision.
If you do not have an offline flash, you can also use desk lamps. You have to increase your camera ISO or shoot with a larger exposure. The only downside is that: the larger exposure the higher the risk of blurred images.
One last thing about the lights: you will probably be shooting indoors so you will probably have one or more lights on the ceiling. Turn all those lights off, especially if they are hard lights because they can cause unpleasant reflections on your oil drops.
Taking the Best Photograph Possible
First, take your photos in RAW format because in some cases you will be able to go farther in the post processing without losing image quality.
If your camera has a life view function, use it. It would be helpful in focusing and composing your shots.
Always shoot in manual, with your camera on tripod. This allows you to focus once and shoot different pictures without thinking about it.
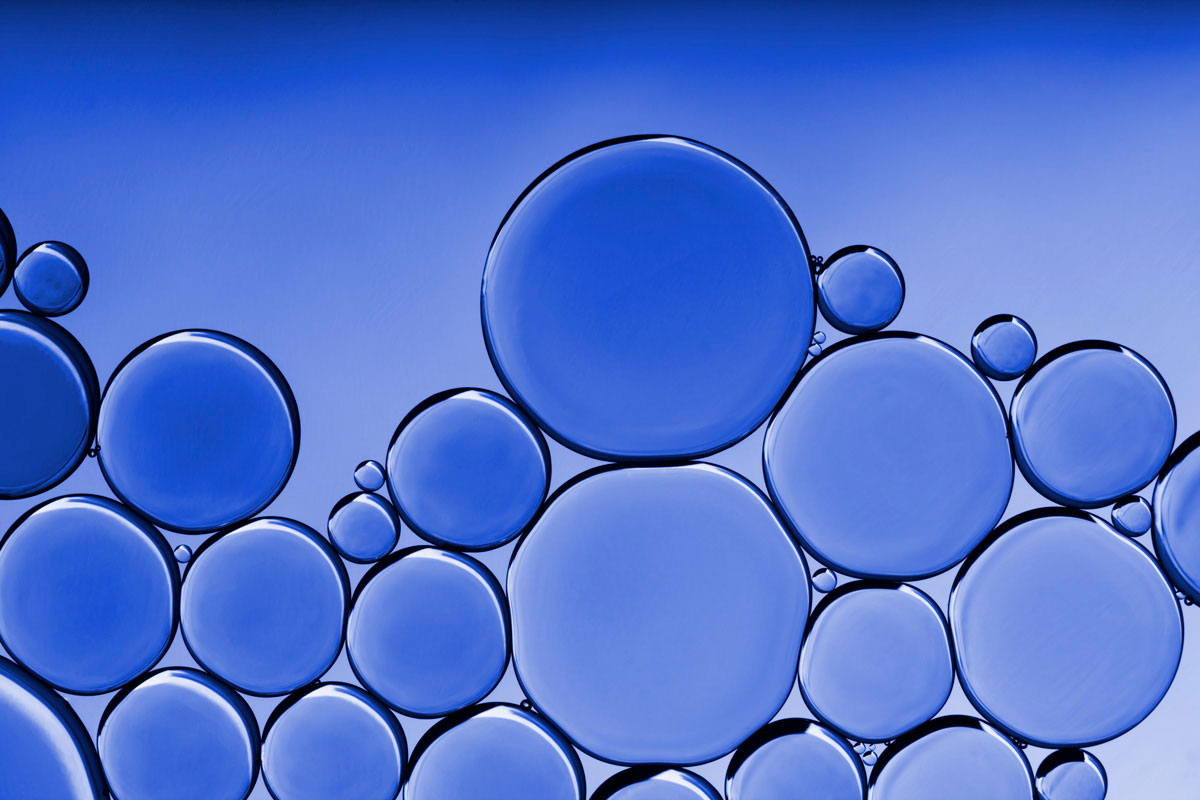
Play with depth of field. By using a wider aperture, you will get blurred and soft backgrounds. However, if you use the smallest aperture value and your drops have some relief (using the dish soap method), you will be able to get the photograph with the background reflected on each oil drop, like in the next photo:
 Background reflected on each bubble by using the narrowest aperture
Finally, if you have the opportunity, shoot with your camera connected to your computer. This is useful to prevent focusing errors, incorrect light exposure, improve composition, etc.
Post Processing
After capturing my photograph, I always start work in Lightroom to make the initial adjustments. For this kind of photo, I tend to add some contrast. Sometimes, I also push the clarity, and play with vibrance and saturation controls. Each photograph is different, so you should experiment to find your desired effect and final image.
 Oil and Water – Original Shoot
 Oil and Water – After Lightroom Adjustments
 Oil and Water photo After Cleaning Process
When I feel like the photograph looks good, I switch to Photoshop for the cleanup and the final retouches.
No matter how clean the glass container is, you should expect to do some retouching. You can use the healing tools on Photoshop for this.
You can also retouch other details to improve the final composition. For example, you can eliminate unwanted reflections on your drops or other small bubbles.
In some cases, it can be interesting to add a texture to the final image. It does not work for every image, but sometimes it can make the difference between a boring photo and a beautiful piece of art.
 Oil and Water photo with a texture added
Conclusion
Creating an oil and water photograph is a matter of experimentation. They are a great source for abstract art and you can use them as digital wallpaper, or you can create your own canvas, posters, etc.
I had a great time doing these photographs. This is the perfect project for cold winter days when shooting outside is not an option. If you enjoyed this article and the resulting photos, try it yourself. I would love to see your comments and photos.
Cool article, thanks. I have found that the oil tends to sink after a short while, do you have a work around?
Hi Paul,
I didn’t observe this issue. What kind of oil are you using? I always use olive oil and it works fine. Try to change the one you are using and let’s see how it works!
So very well explained. Looking forward to experiment with the process and will come back to you as soon as I am ready. Thank you a lot
I’m glad you find it useful, I will be happy to see your photos Hanna!