How to use Sparkling Water in Artistic Photography
In this article, I will explain how to use sparkling to capture remarkable pictures. Taking good photographs with this technique is quite easy, so any professional or amateur can benefit from it.
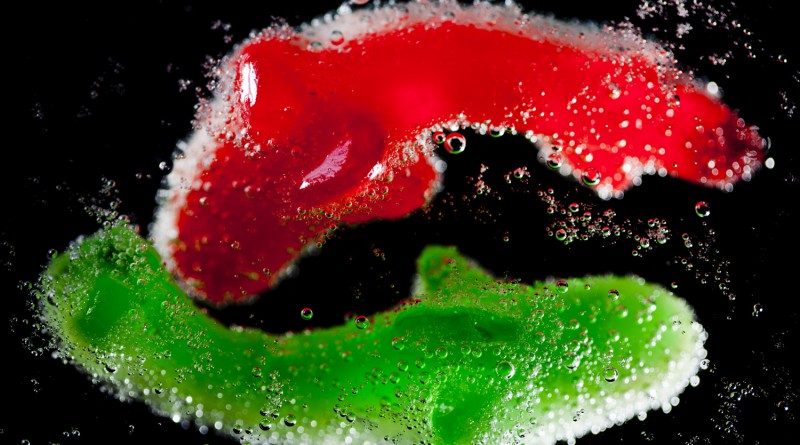
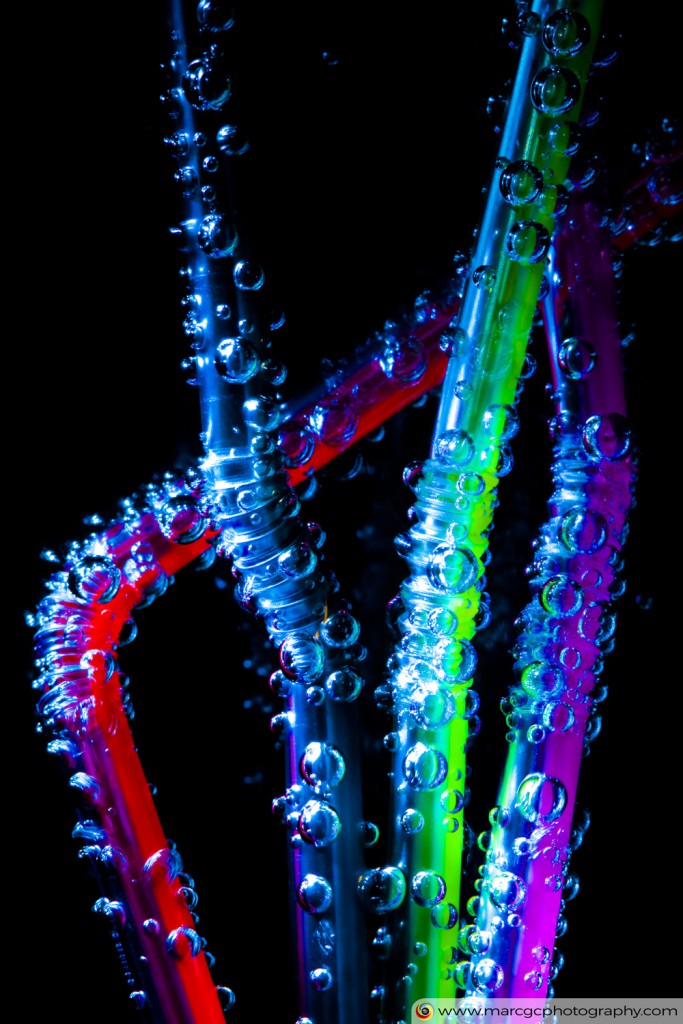
You may wonder how sparkling water can be used in the field of artistic photography. Well, the bubbles it produces when an object is immersed in it can give a unique touch to what would have just been another picture. I hope that the following examples clearly illustrate my point of view:
[bscolumns class=”one_half_no_bottom_margin”]
[/bscolumns][bscolumns class=”one_half_last”]
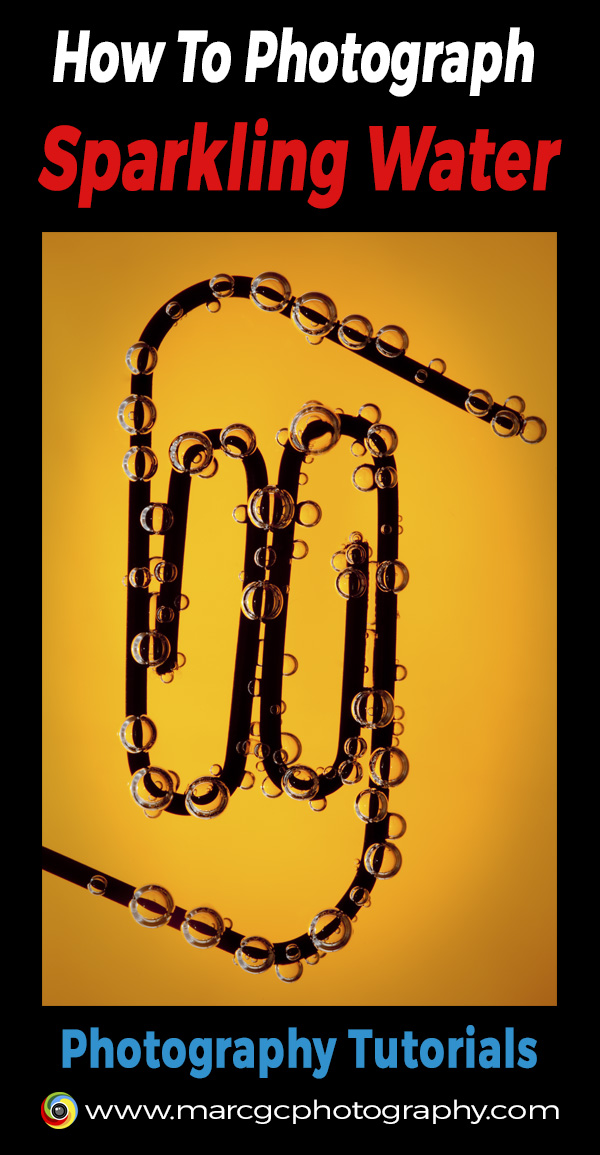
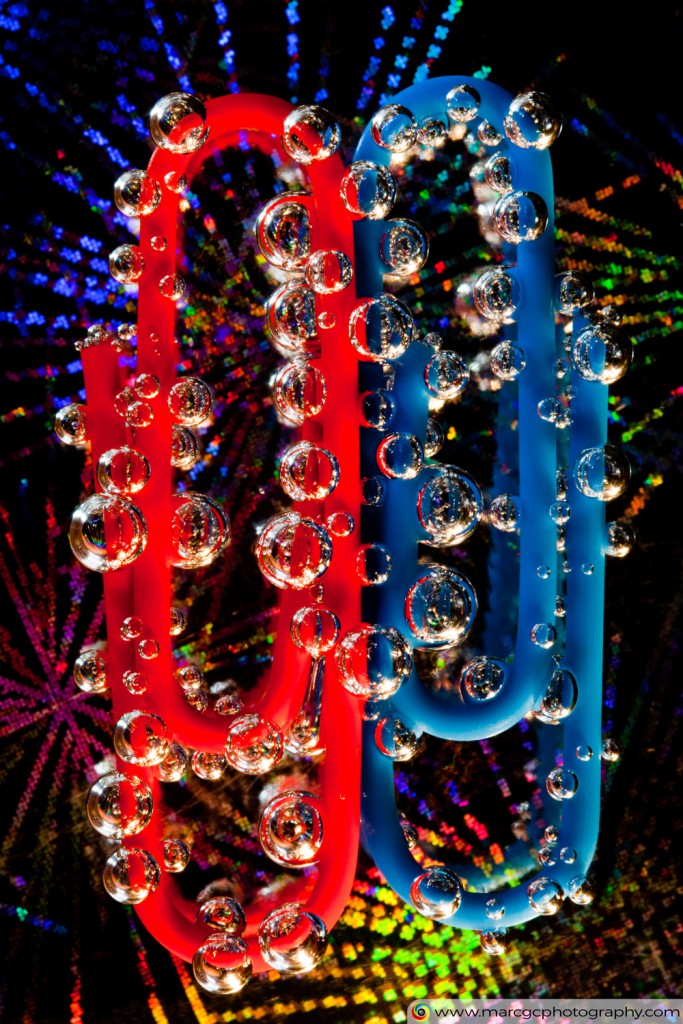 Bubbles and Paperclips Explosion
[/bscolumns][bscolumns class=”clear”][/bscolumns]
What Do You Need?
- Sparkling water
- A container suitable for both the object and image you want to capture
- The objects to be photographed
- Macro lens
- Tripod and remote shutter release (recommended)
[bscolumns class=”one_half_no_bottom_margin”]
As you can imagine, the bubbles are not going to be very large. For this reason, a macro lens is required. Without it will be impossible to get close-up photos like in the examples. To learn more about macro photography, I recommend this article: “Macrophotography”
What objects can be photographed with this technique? I personally use small objects that everyone has at home: pencils, paper clips, straws, etc. For me, the most important thing is not so much the object, but how to convey an idea with that object.
Having chosen the object of the photo, you must now find a proper container. Ideally, this container should be transparent. This allows you more freedom to move, to position the camera to get a good angle, and to move the lights to illuminate the scene at any point of interest. If you use an opaque container, you can only illuminate the scene from above and the resulting will not be as impactful.
Finally, a tripod and shutter release are not required, but they are always great allies for this type of work. You can adjust the frame down to the millimeter, avoid camera shake, and focus precisely where you want. Personally, I could not live without these two items.
[/bscolumns][bscolumns class=”one_half_last”]
[/bscolumns][bscolumns class=”clear”][/bscolumns]
Creating the First Bubbles
Creating the bubbles is simple; any object immersed in sparkling water is quickly surrounded by thousands of bubbles. To save time in post-production work, clean the object before immersing it to remove dust and other unwanted particles. This will prevent you from having to clean annoying spots, such as those in the picture below. Keep in mind that depending on the objects photographed, you should change the water regularly to ensure particles are not an issue.
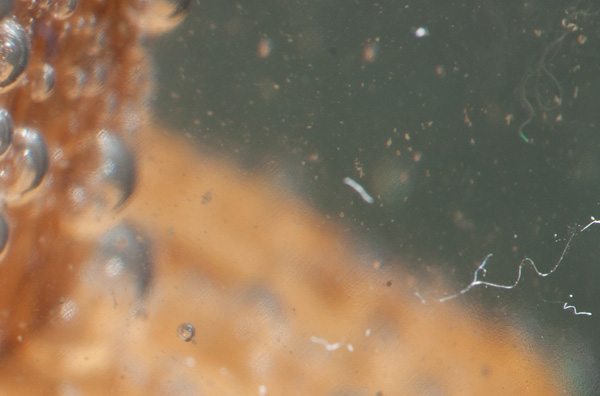 Annoying Spots due to Dirty in Immersed Subjects
Which Is the Best Sparkling Water to Use?
I tried several brands of sparkling water, and have not noticed any significant difference between them. In a session, you can use several bottles so I recommend the most affordable option, as it will not affect the final image.
Taking the First Photos
[bscolumns class=”one_half_no_bottom_margin”]
The first thing to note is that the bubbles are transparent and in many ways, they are similar to photographing glass. Therefore, special care must be taken with light use. You can find more information about light use in the ‘Glass Photography Techniques’ tutorial. Another important aspect to consider is exposure time. Bubbles come and go quickly, especially when the object is first immersed. You can proceed in two ways:
1) Wait a few seconds for the bubbles to become stable. However, you should note that this will reduce the number of bubbles that attach to your object.
2) Shoot as soon as the object is immersed at a shutter speed of between 1/200 and 1/500 to prevent spots that result from the bubbles moving or burstingShoot as soon as the object is immersed at a shutter speed of between 1/200 and 1/500 to prevent spots from the bubbles exploding or moving around.
There is a third, alternative, option that can also help you successfully achieve good compositions.
[/bscolumns][bscolumns class=”one_half_last”]
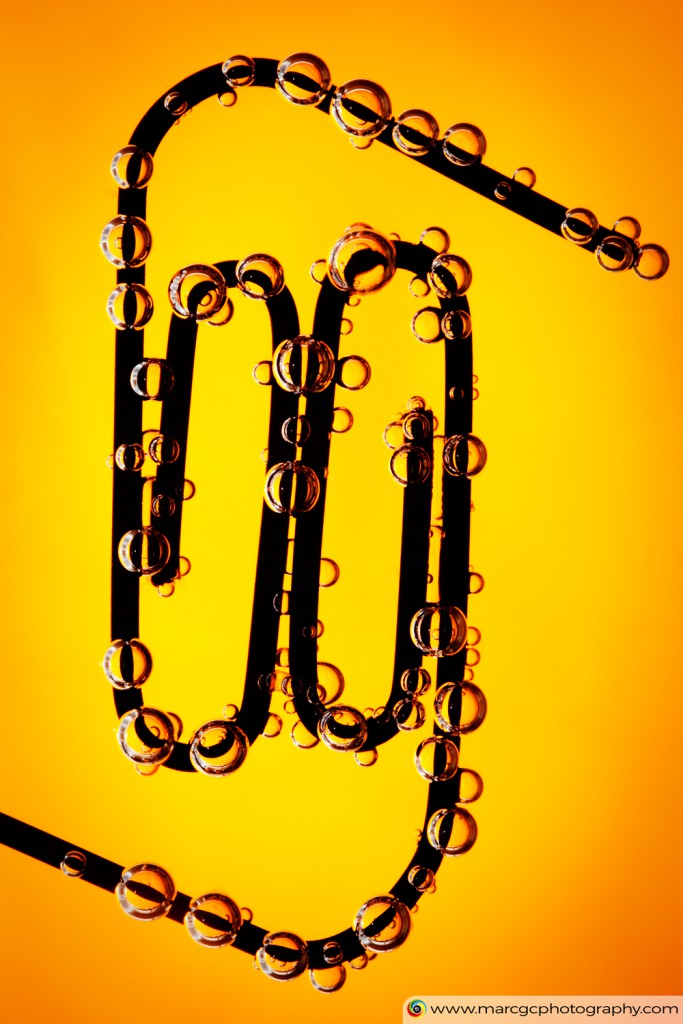 Bubble Race on Paperclips Track
[/bscolumns][bscolumns class=”clear”][/bscolumns]
3) If your object floats or is not too heavy, you can prepare the composition without water first. Place the object so that it cannot move, then immerse it carefully and take the picture. This option works well if you are shooting more than one object at a time because multiple objects can be difficult to group. If you try to move them once submerged, moving one object could cause the others to move as well, disrupting the grouping pattern.
Conclusion
Taking photographs using sparkling water is easy and rewarding. You will be thrilled by the fast results and unique images. The biggest challenge is to find the perfect object for your picture. While this can seem intimidating, I bet that if you take your eyes off the screen and look around, you will start to get some good ideas.
I encourage you to try it for yourself. It is a perfect winter weekend project.

