
Creative Bokeh Tutorial
[bscolumns class=”one_half”]
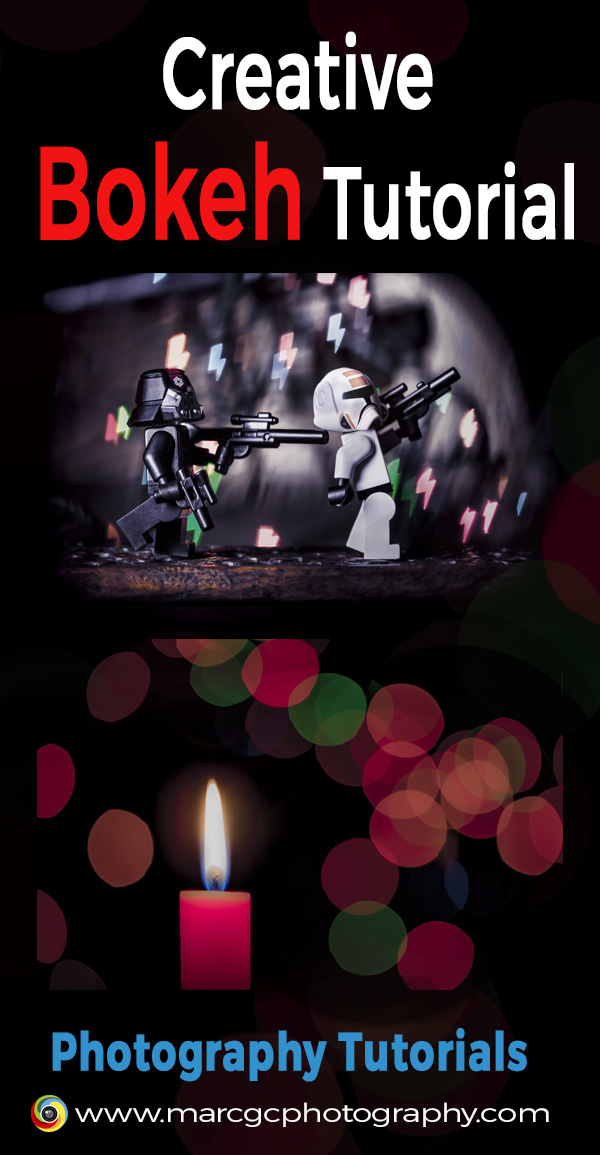
You probably have already seen photographs that use the “bokeh” technique, so you may already know what kind of final image you can capture using this tutorial. If you are unfamiliar with bokeh, look at the images below and study the background lights to get an idea.
The term bokeh comes from the Japanese word “boke,” which means “blur” or “haze.” When applied to photography, bokeh refers to the aesthetic quality of a photograph’s out-of-focus areas (what is normally the background).
Bokeh can be differentiated into two types:
1) Without specular highlights—This type of bokeh produces an image where the background is completely blurred and there is no sign of specular highlights on the photograph.
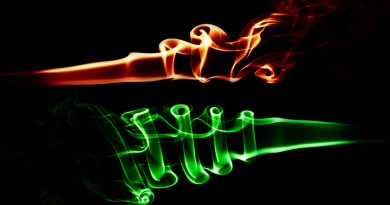
2) With specular highlights—This type of bokeh produces an image where specular lights are visible and are used in creative ways to capture beautiful and artistic photographs.
[/bscolumns][bscolumns class=”one_half_last”]
[/bscolumns][bscolumns class=”clear”][/bscolumns]
Producing the first kind of bokeh is as simple as using the widest aperture available on your camera lens. Thus, we will focus on creating the second kind of bokeh.
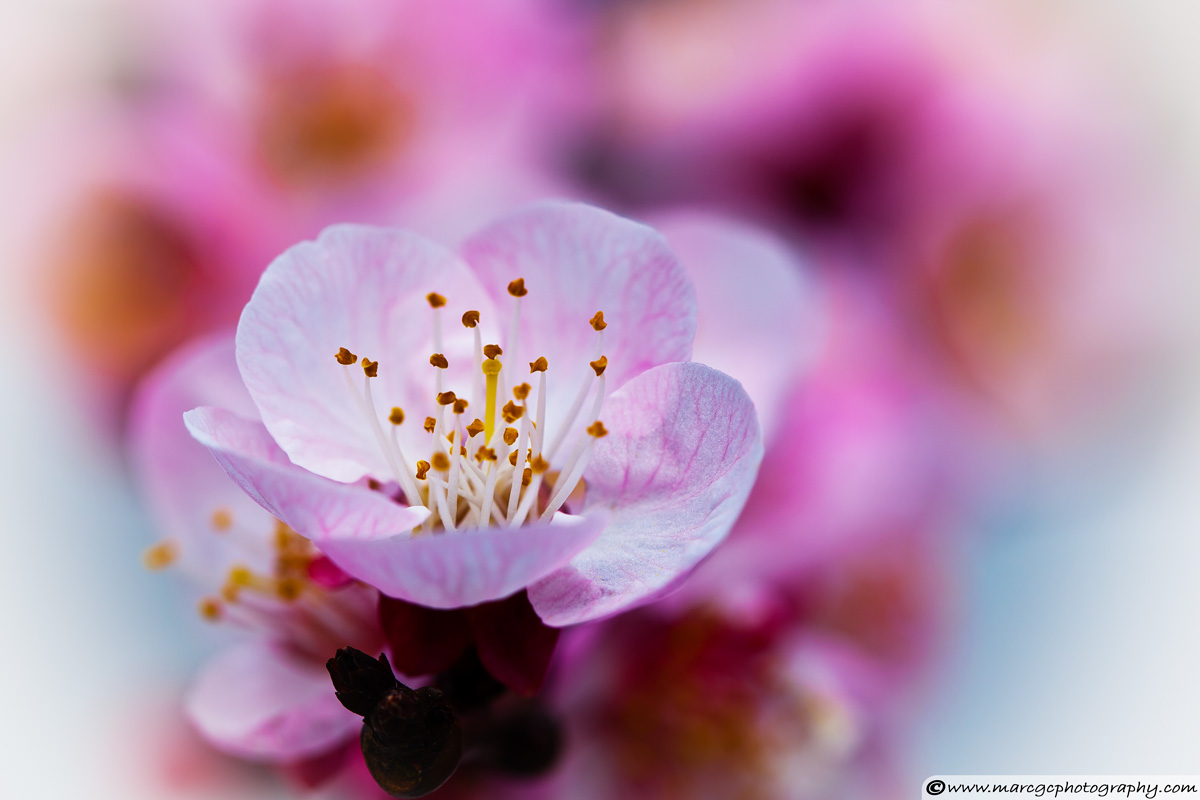 Apricot flower close up – Bokeh Example Without Specular Highlight
 Red Candle- Bokeh Example With Specular Highlight
What Do You Need?
- A fast lens—a 50mm f/1.8
is a good start.
- Background lights—small LED lights, such as Christmas lights, are good to start with.
- Black cardboard.
- Scissors.
- Craft knife.
Capturing Bokeh Step-by-Step
While the final image can seem intimidating, by following a few key points, you will be able to create striking bokeh images in your own photographs.
1) Use the largest aperture (the smallest f-number) available on your lens. By doing this, you will reduce the depth of field, which separates your subject from the background as much as possible.
2) Using a fast lens is important. The faster the lens is, the wider the aperture will be. If your current lens is not fast enough, I recommend purchasing a 50mm prime lens. They are fast lenses, provide ultra-sharp results, and are available from most of the major photography brands for a fairly inexpensive price.
3) The closer you get to your subject, the blurrier the background will be. The trick is finding a balance between the distance from the subject and clean composition.
4) Besides manipulating the camera and lens settings, the only way to create the bokeh effect is by using small lights in the background. If you are at home or in a studio, the easiest way is to use small LED lights—like the ones used in Christmas decorations.
5) Place your background lights a few meters from your subject and arrange them to construct an appealing background.
Using Filters to Alter the Shape of the Background Lights
Using the previous instructions, you were able to achieve beautiful bokeh with round specular highlights. The specular lights are round because this is the form of your camera’s aperture shape. This next tutorial addresses how to change the shape of the specular lights and thus, your bokeh.
To change the shape of the bokeh, you must change the shape your camera’s aperture. This is easily done by adding a black cardboard “filter” in front of your camera lens, with the desired shape cut into the center.
Here are a few examples:
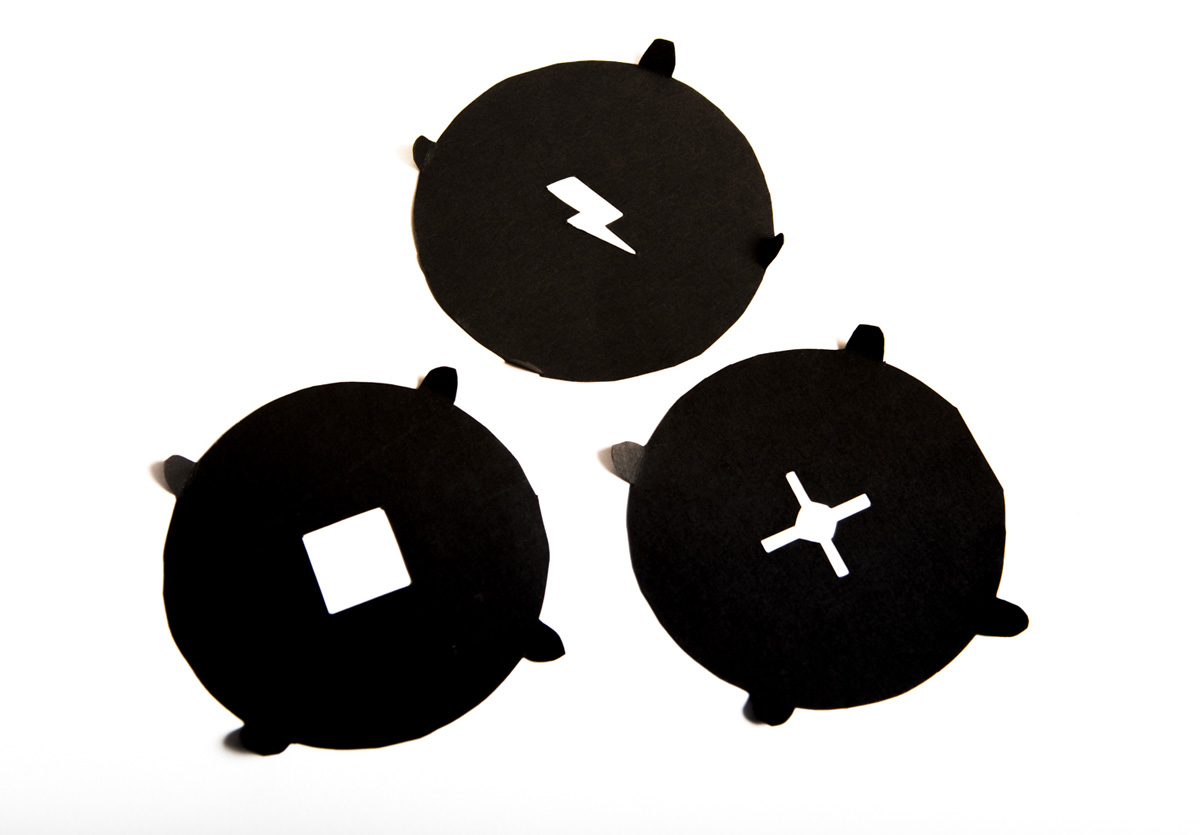 DIY Bokeh Filters
Creating Your Own Bokeh Filters
Creating your own bokeh filters is not difficult and each one can be completed in almost no time. To make it easier, I prepared a basic template:
 Basic Bokeh Filter Template
If you have a neutral or UV filter attached to your lens to protect it, the size of the bokeh filter must be the same size as the inner size of your UV filter.
In the template, you can see a centered small grey circle. This space is reserved for cutting out the desired bokeh shape. The size of this grey circle cannot be bigger than the 60% of your lens aperture. Use this simple formula to calculate the correct size:
(lens diameter/maximum aperture) X 0.6 = maximum size in millimeters
For example, if I want to calculate for my 50mm f/1.4 lens, this is how the formula would read:
(50/1.4) X 0.6 = 21.42mm
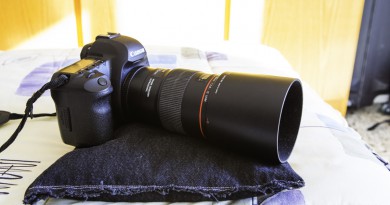
Finally, you will observe four small flaps on the template. These are in place for easy handling of the filter; they will be especially useful when you need to remove the filter from the lens without scratching it. In the next photo, you can see how these filters fit into a camera lens:
 Bokeh Filter on a Macro Lens
One final tip: Be very careful when cutting out the shapes on your filters. Any irregular lines will be ungraceful in the final image.
TIP
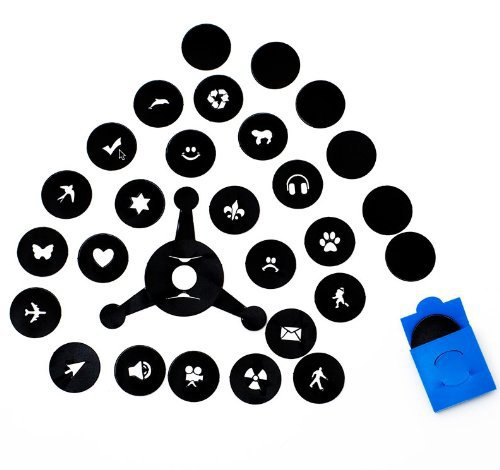
If you are like me and do not have a special talent for drawing your own shapes, don’t panic! You can search for black and white icons on the Internet (many are available under creative commons licenses) or purchase a set of bokeh filters, shown below:
Conclusion
This article has shown you how to create dynamic images using the bokeh lighting technique, which enhances the background. However, you must remember to consider the most important part of any image—the subject. Any background should make your subject more appealing, but sometimes, especially with techniques like this one, it is easy to distract the viewer. Pay equal attention to your subject and the overall composition while working with these techniques.
With that in mind, just be yourself and have fun. Please feel free to share your comments and feedback!

Great tutorial Marc! Excellent advice throughout- I enjoyed reading all of your tips! Cheers, Adrienne
Thanks Adrienne, I’m glad you like it!
At first, the bokeh was not working for me. BUT I figured out that the shape you want has to be at least half a centimeter big.