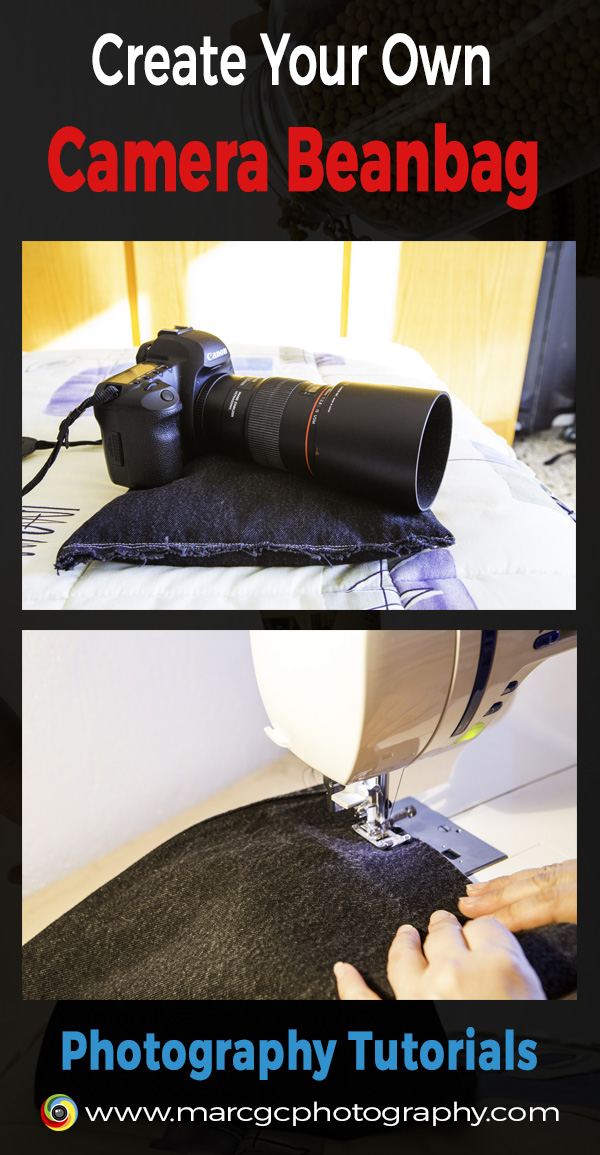
Create Your Own Camera Beanbag
[bscolumns class=”one_half”]
I hadn’t considered the camera beanbag a useful tool until recently. After trying to photograph mushrooms in an extremely dense forest, however, I began to view it from a different perspective. Once I considered it, I realized its usefulness.
Imagine you need to setup a tripod almost at ground level, but the ground is not flat—sometimes not even stable. The setting makes it is difficult to put the camera in the right position because it’s full of rocks, bushes, and other obstacles.
There are several options to fix this issue:
- You can hold your camera in your hand. However, this will require an increased ISO or wider aperture to prevent camera shake.
- You can use a more versatile tripod, such as the Gorillapod. It will improve the conditions, but it is still difficult to compose your photo in this situation.
- You can use a beanbag. It prevents camera shake, as a tripod would, but allows faster and easier setup, allowing you to get a good composition in no time.
[/bscolumns][bscolumns class=”one_half_last”]
[/bscolumns][bscolumns class=”clear”][/bscolumns]
What Do You Need?
- And old pair of old jeans.
- Sewing machine or a sewing kit
- Pack of lentils or any other dry grain
Step-by-Step Instructions
1) You will probably have some unused old jeans at home. Mark them as illustrated in the next picture. Don’t worry too much about the size. In this case, we just want to have enough space for a camera and a small macro lens—about 15 to 20 inches long will be enough to hold your camera.
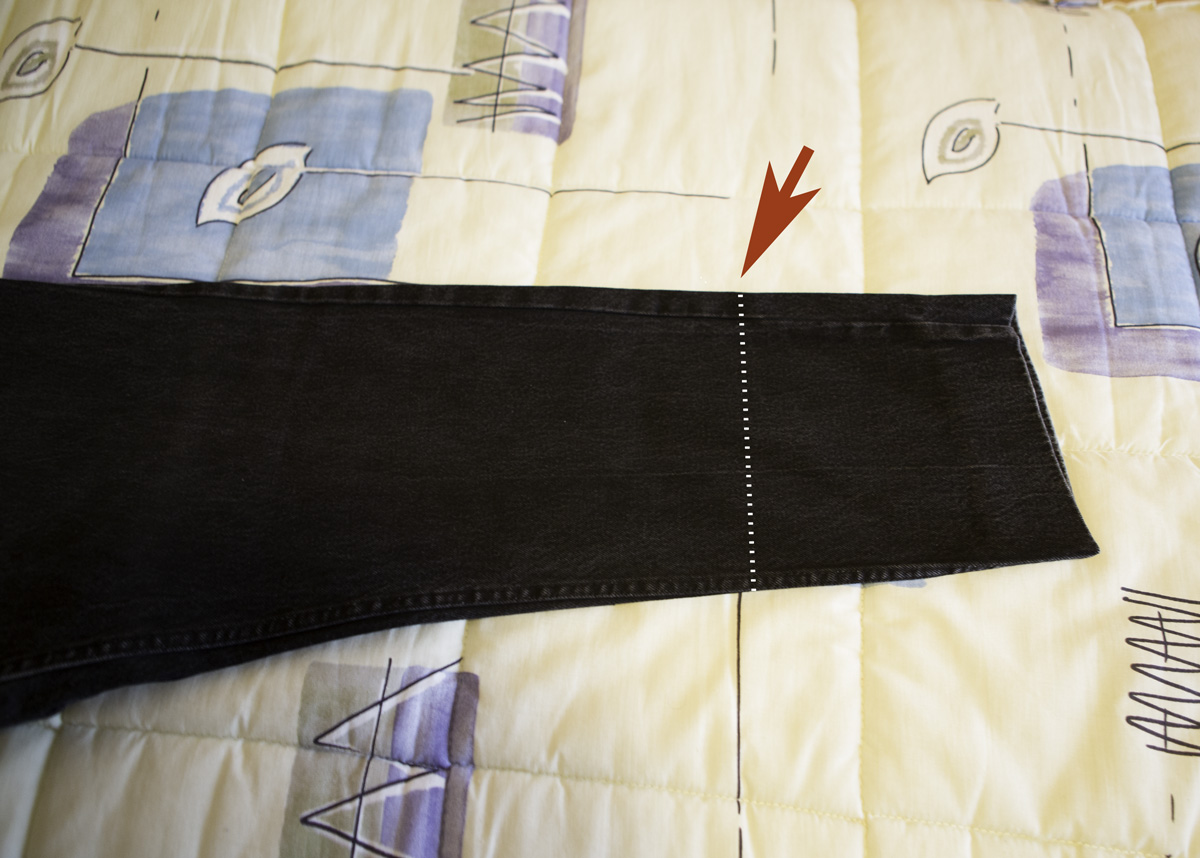 Beanbag Pattern
2) Use scissors and cut your jeans as illustrated.
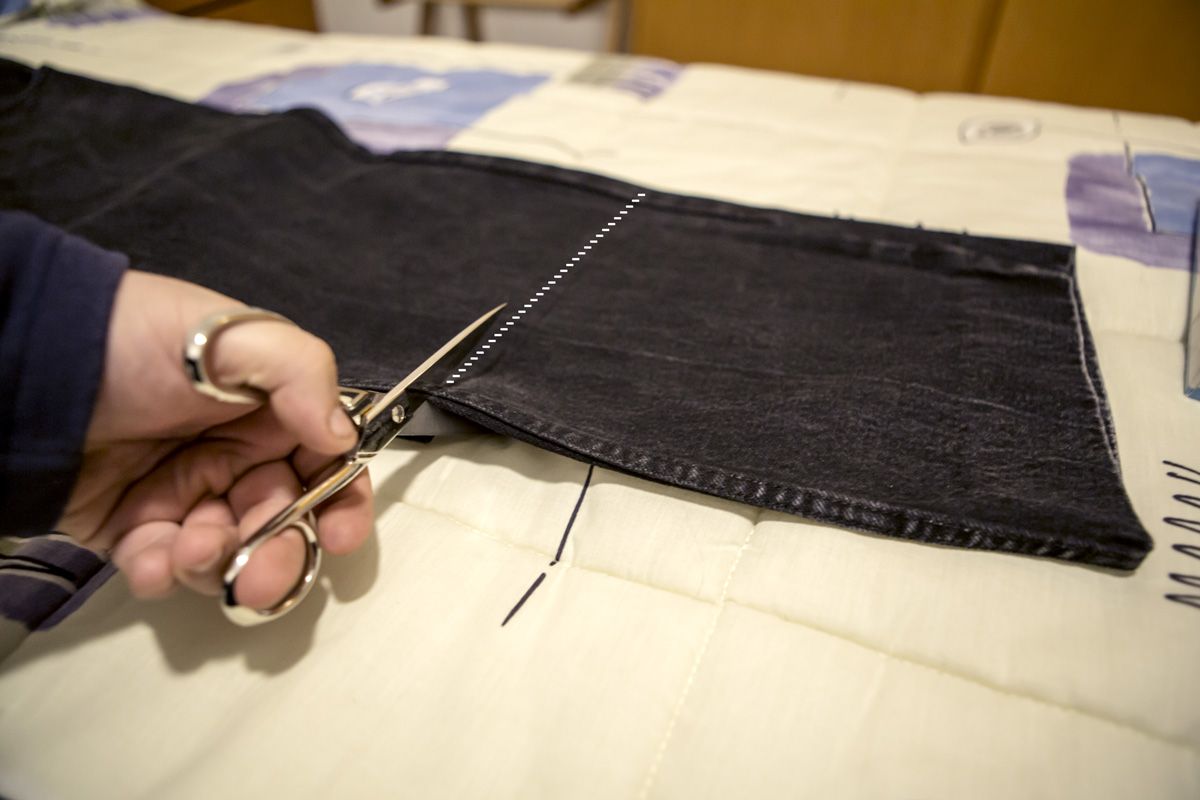 Cutting The Jeans
3) Sew one of the edges completely closed. Only partially sew the other one closed, leaving a small hole. You will use this hole to fill the bag with the dry grain. If you have a sewing machine at home, you will be able to do this in less than two minutes.
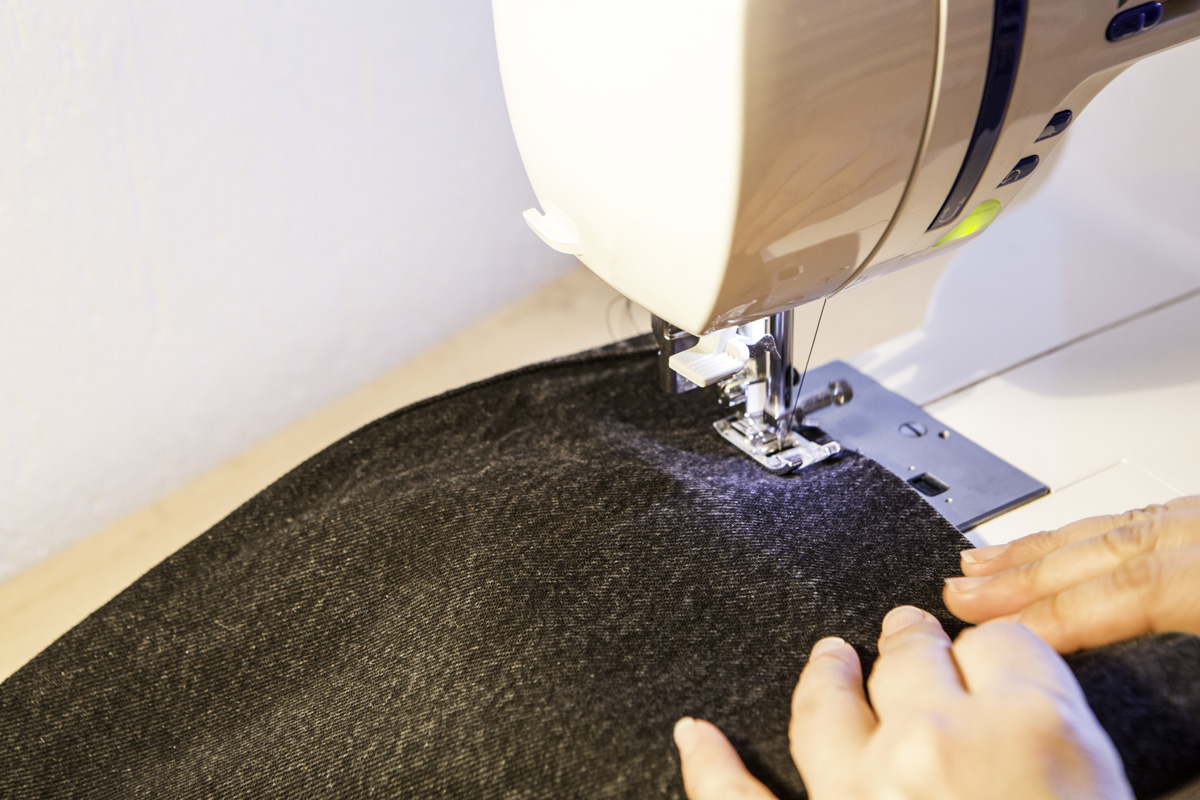 Sewing The Beanbag
4) Fill the bag. You can fill it with lentils, any other dry grain, or with a purchased lightweight product such as Grizzly Polystyrene balls. Take care and ensure you do not fill it too much. An overfilled beanbag will not support the camera properly, causing the camera to slide off.
 Filling The Beanbag
5) Sew the hole closed.
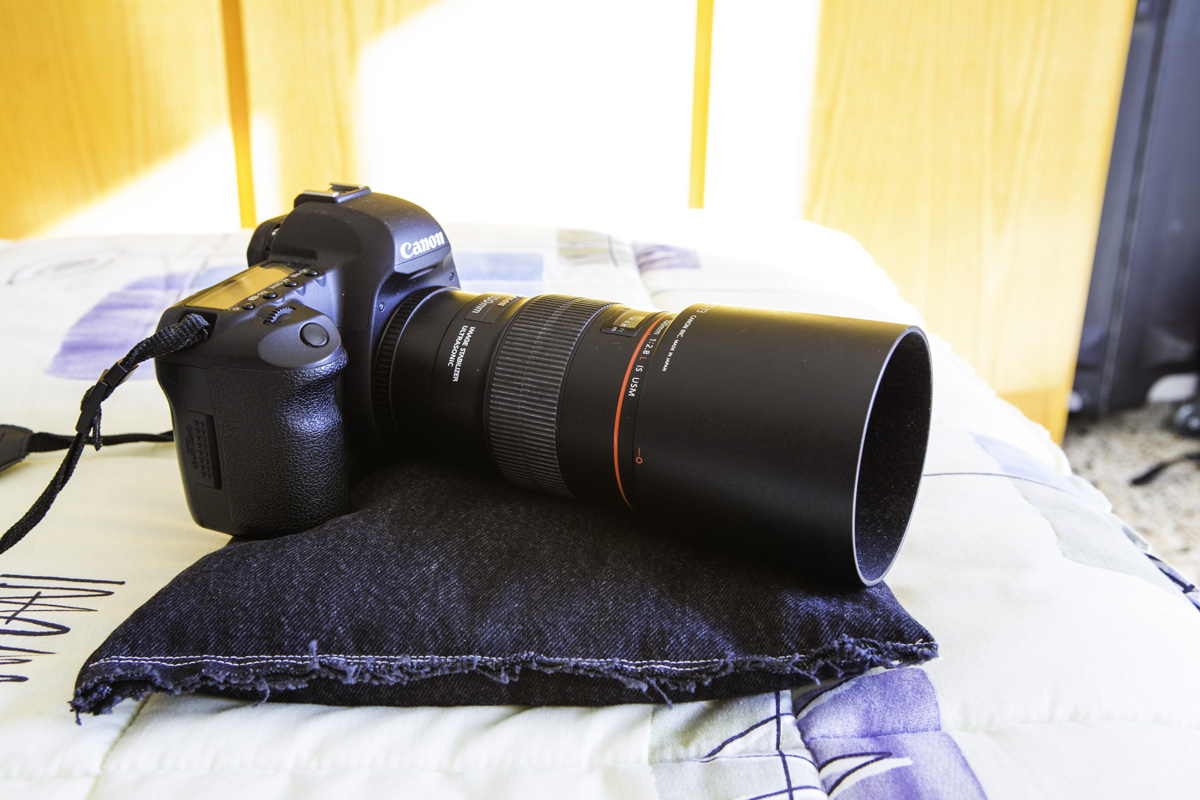 Finished Camera Beanbag
Benefits of Using a Beanbag
If you still unsure if you need a beanbag, this may help you to decide:
- It will provide solid but gentle support for your camera and lenses.
- It is quick and easy to use.
- The beanbag will mold around your camera for a steady hold.
- IIt can be used in many scenarios—on your car window, a fence, on rocks and fallen trees—so you do not have to carry a heavy tripod.
- It can be placed on the ground to hide your camera from wildlife.
- It can capture amazing close-ups.
Conclusion
I hope you had fun with this DIY project. A beanbag can be a great tool and, as you can see, making your own is a quick and easy process. However, if you do not feel you have the time to make it, or would prefer one with a more professional look, I recommend the Grizzly Camera Bean Bag.
Please feel free to share your comments and feedback!
.
.


If you are travelling internationally with your camera, you may well choose not to use any seeds in your bean bag. I know that my grandmother repaired a beanbag with a hole in it but managed to not leave a visible seam.
Just created mine from an old pair of jeans. Works great!